As an Amazon Associate I earn from qualifying purchases. Links in this article may be affiliate links. How we choose gear
Introduction: Why a Solar Panel Kit for Shed Beats Another Extension Cord
Picture this: it’s 6 p.m. in November, the sun’s already gone, and you’re fumbling around your shed with a phone flashlight clenched in your teeth. Sound familiar? A solar panel kit for shed lighting, tool charging, or even a couple of 120V outlets solves that problem without trenching a cable across the yard.
Here’s the catch, though. The wrong solar panel kit for shed use is surprisingly easy to buy. Some kits ship without a battery, so nothing works after dark. Others include a battery that can’t survive a freezing winter. And plenty of buyers overspend on 400 watts of panels for a shed that only needs a few LED bulbs.
This guide cuts through that. We compared seven real kits sold on amazon.com, from a basic 100W starter to a turnkey system with a 2000W inverter. Every recommendation is based on published spec sheets and the aggregated sentiment in real customer reviews, never invented tests or made-up quotes. You’ll also get sizing math, an install walkthrough, and the mistakes that quietly kill shed systems.
What Is a Solar Panel Kit for Shed?
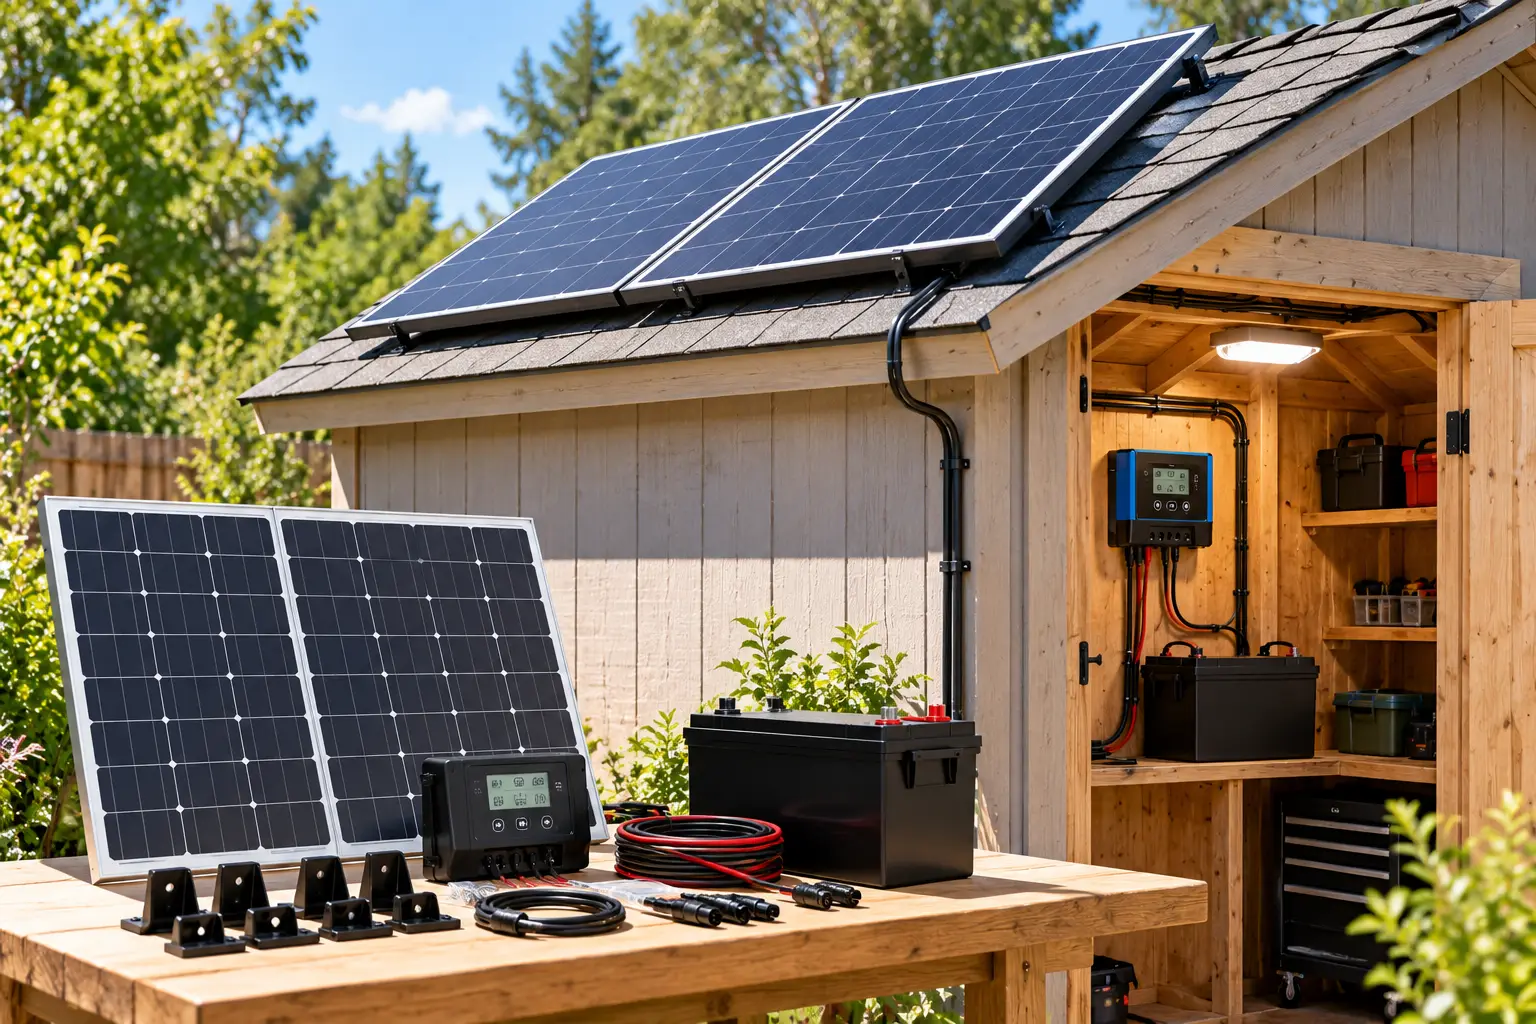
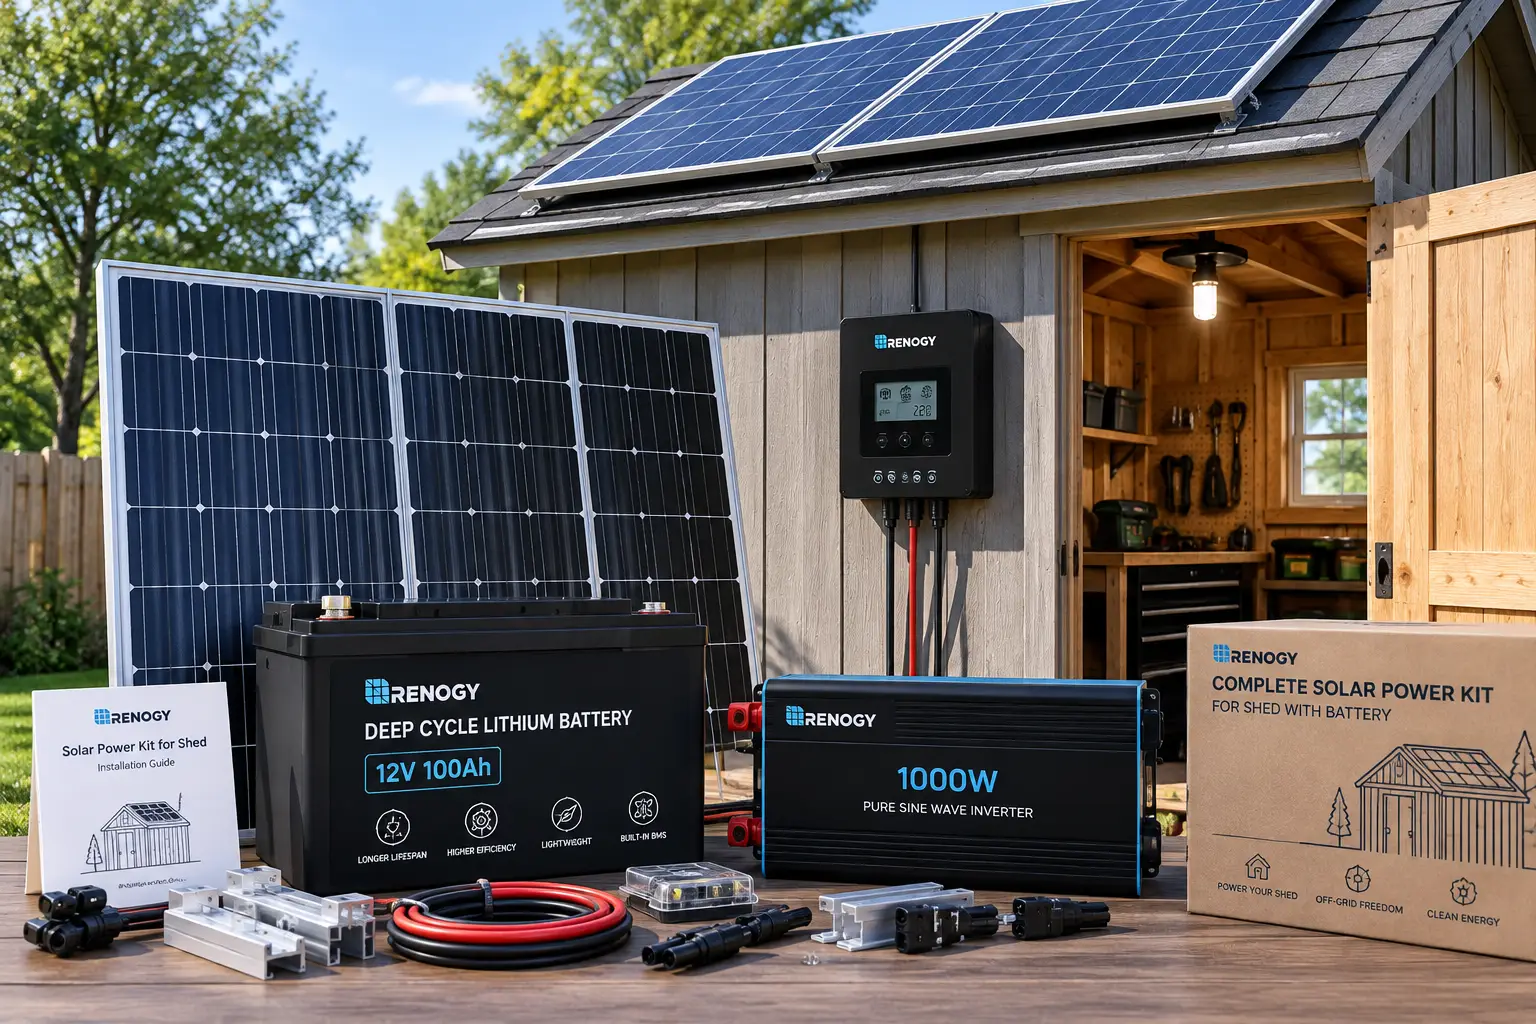
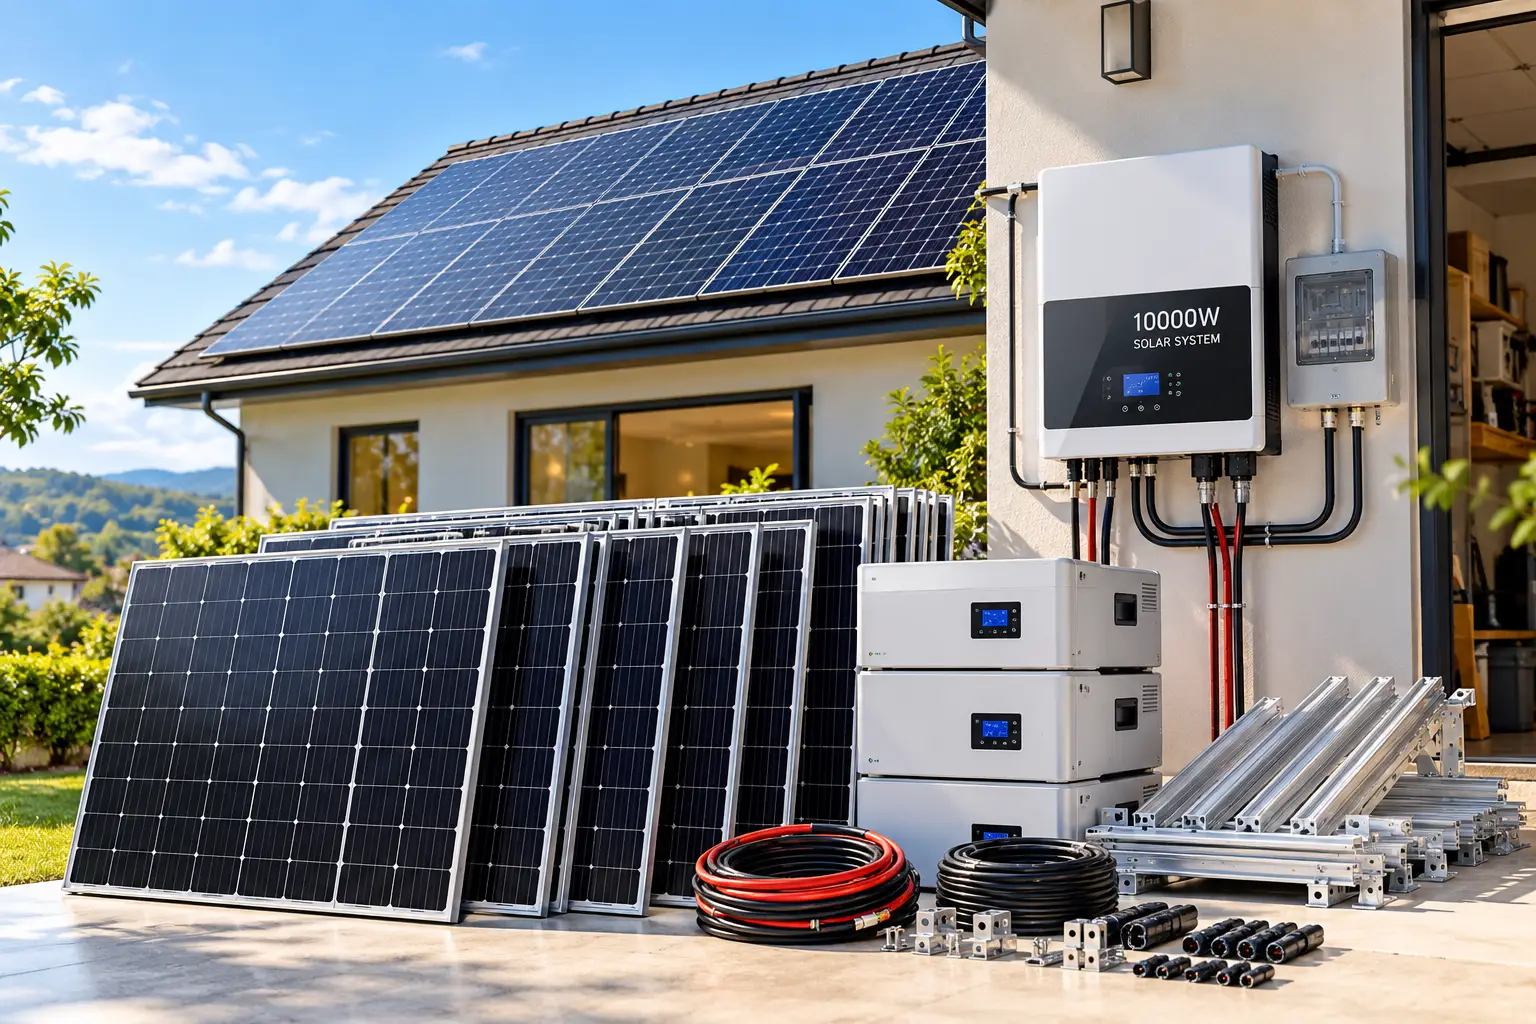
A solar panel kit for shed use is a bundled off-grid system that turns sunlight into stored electricity for an outbuilding. At minimum, it includes panels, a charge controller, cables, and mounting brackets. Larger kits add a deep-cycle battery and an inverter, so you get standard 120V outlets.
In energy terms, this is what the U.S. Department of Energy calls a stand-alone renewable energy system: a small setup that isn’t tied to the utility grid. For a shed, that independence is the whole point. Your loads are small, predictable, and easy to list on paper, which makes a shed the easiest building on most properties to run on sunshine.
The rest of this article helps you match a kit to the job. Lights only? Tools and a radio? A 12V fridge or a full workshop? Each answer points to a different kit, and getting it right the first time saves real money.
Quick Comparison: The 7 Best Shed Solar Kits at a Glance
Jackery Solar Generator 1000 v2: renters, no wiring
Looking at the table, the split is really about what’s in the box. The three Renogy and ECO-WORTHY panel-only kits are the cheapest way into solar power for shed use, but you still need to buy a battery. The ECO-WORTHY 200W Complete Kit and ECO-WORTHY 1.6kWh Complete Kit hand you outlets on day one, while the Jackery Solar Generator 1000 v2 skips wiring entirely at a higher cost per watt-hour.
Click any highlighted kit to check today’s price and availability.
Top 7 Solar Panel Kit for Shed Picks
Each pick below is judged on what’s actually in the box, how the specs translate into shed life, and what real buyers report after living with it.
If your shed needs light and a phone charger, the Renogy 100W 12V Starter Kit is the lowest-risk way to start. You get a 100W monocrystalline panel, a Wanderer 30A PWM charge controller, 10AWG MC4 cabling, and Z-brackets.
Renogy rates the panel at about 500Wh per day under good sun. In practice, that comfortably runs a few LED fixtures, a Wi-Fi camera, and some tool-battery top-ups. The 30A controller is oversized on purpose: it can accept up to 400W of panels later, so you won’t replace it when you grow.
Based on comparing the specs, this kit is for beginners with lighting-only loads. It’s a generation kit, not a full system, because there’s no battery and no inverter. Reviews consistently describe it as well packaged and easy to mount in an afternoon. The common complaint is the PWM controller, which wastes some panel output compared with MPPT, and the fact that you must buy a battery separately.
Pros:
Controller already sized for 400W of future panels
Rugged frame rated for heavy wind and snow
Huge review history from long-term owners
Cons:
No battery, so nothing runs after dark yet
Bluetooth monitoring needs an extra module
Typically around $100–$150 at the time of writing; strong value as the generation half of a small system.
Renogy 100W 12V Starter KitSee current price, sizes and reviews on Amazon.
The Renogy 200W 12V Starter Kit doubles the panel count without adding complexity. It pairs two 100W panels with the same Wanderer 30A PWM controller, plus a 20ft adaptor kit, an 8ft tray cable, branch connectors, and two sets of Z-brackets.
Renogy quotes about 1,000Wh per day, based on five hours of direct sun. That figure matters: it’s enough for lighting, a radio, several cordless-tool batteries, and a small 12V fridge on a sunny day. The four-stage charging profile also works with sealed, gel, flooded, and lithium batteries, so you’re not locked into one chemistry.
What most buyers overlook is roof space. Two panels need two mounting spots, so measure before you click. This is the kit for hobbyists turning a storage shed into a light workshop. Reviews consistently praise the strong daily output and complete hardware. Some note that listing dimensions appear to describe packaging rather than the panels.
Pros:
Roughly 1kWh daily covers most hobby loads
Works with lead-acid and lithium batteries
All cables and brackets included
Cons:
PWM caps efficiency on cloudy days
Needs room for two separate panels
Usually around $200–$260; the best balance of energy and simplicity here.
Renogy 200W 12V Starter KitSee current price, sizes and reviews on Amazon.
The ECO-WORTHY 200W 12V/24V Kit earns its place through wiring flexibility. Its two 100W panels can run in parallel for 12V or in series for 24V, which lets you change system voltage later without replacing panels.
Why does that matter? Running 24V halves the current for the same power. Lower current means thinner cable, less voltage drop, and less heat over a long run from roof to battery. The kit quotes about 800Wh per day under four hours of sun, and the frames carry the same heavy wind and snow ratings as premium rivals.
This is the pick for budget-conscious DIYers who might expand. Reviews consistently highlight value for the money and complete bundling, including 16.4ft of solar cable. On the flip side, buyers mention the panels are heavy enough to need two people on a roof. Some also find the bundled cable too short for larger sheds.
Pros:
Switches between 12V and 24V setups
Strong value per watt of panel
Generous cable and bracket bundle
Cons:
Shorter warranty than the Renogy kits
PWM controller limits low-light harvest
Generally under $250 at the time of writing; excellent value if you plan to grow.
ECO-WORTHY 200W 12V/24V KitSee current price, sizes and reviews on Amazon.
The ECO-WORTHY 200W Complete Kit is the smallest bundle here that ships with everything: two 100W N-type panels, a 12V 50Ah LiFePO4 battery, a 30A charger, and a 600W pure sine wave inverter with fast UPS switchover.
On paper, this means real 120V outlets the same weekend. The 50Ah lithium battery stores about 640Wh nominal, which runs LED lights, a laptop, and a radio for an evening with room to spare. Pure sine output is safe for sensitive electronics, and the quick switchover keeps a router running if you use it as backup.
Here’s what to weigh, though. The 600W inverter rules out kettles, heaters, and most corded saws. Reviews are more mixed than for the panel-only kits. Buyers like the plug-and-play setup, but a recurring complaint involves battery, charger, or inverter reliability over time. This is best for a garden office or hobby shed with light AC loads.
Pros:
Battery and inverter included in one box
LiFePO4 chemistry lasts thousands of cycles
Pure sine output safe for electronics
Cons:
600W inverter too small for power tools
Mixed long-term reliability reports in reviews
Roughly $400–$600 depending on promotions; fair value for convenience.
ECO-WORTHY 200W Complete KitSee current price, sizes and reviews on Amazon.
The Renogy 400W 12V Premium Kit is where shed solar starts to feel like a real power system. It bundles four 100W panels with a Rover 40A MPPT charge controller and a Bluetooth module for phone monitoring.
Maximum power point tracking is the upgrade that matters. Instead of simply connecting panels to the battery like PWM, an MPPT controller converts excess panel voltage into extra charging current. At 400W, that recovered energy is significant, especially in cold, bright weather. The Rover auto-detects 12V or 24V and accepts up to 100V of panel input, so you can expand to 800W at 24V.
This kit suits experienced DIYers building a workshop around their own battery and inverter choices. Honestly, verified review data on this exact bundle is thinner than for the starter kits. What is verifiable is the spec sheet, including Renogy’s 3-year warranty on the Rover 40A controller.
Pros:
MPPT controller harvests noticeably more energy
Bluetooth monitoring included out of the box
Expands to 800W on a 24V system
Cons:
Still requires a separate battery and inverter
Four panels need a sizable roof
Around $500–$650 at the time of writing; strong long-term value for growing systems.
Renogy 400W 12V Premium KitSee current price, sizes and reviews on Amazon.
The ECO-WORTHY 1.6kWh Complete Kit is the most capable bundle in this lineup. It pairs four 100W bifacial panels with a 40A MPPT controller, two 12V 100Ah lithium batteries, a 2000W pure sine wave inverter, and Bluetooth monitoring.
The 2000W inverter is the headline. It gives you headroom to start a circular saw, jigsaw, or bench grinder, which a 600W unit simply can’t do. The two batteries store about 2.5kWh nominal, enough to run a 600W load for roughly three to four hours. Bifacial panels also catch reflected light from behind, a small bonus on light-colored roofs.
Reviews consistently praise how well the components match in one order. On the other hand, owners often call the documentation thin, and the parts can arrive in separate boxes. A smaller group reports inverter shutdowns under heavy draw. This is the pick for woodworkers who want real 120V tools without a gas generator.
Pros:
2000W inverter handles many corded tools
Two lithium batteries rated for thousands of cycles
Every major component matched in one bundle
Cons:
Thin setup documentation slows first install
Some owners report shutdowns at heavy loads
Roughly $1,000 and up depending on configuration; good value versus buying parts piecemeal.
ECO-WORTHY 1.6kWh Complete KitSee current price, sizes and reviews on Amazon.
The Jackery Solar Generator 1000 v2 takes a completely different approach. Instead of wiring components, you get an Explorer 1000 v2 portable power station and a folding 200W SolarSaga panel.
The power station holds 1,070Wh in a LiFePO4 battery rated for 4,000+ cycles. It delivers 1,500W continuous AC with a 3,000W surge, which covers a miter saw start or a small fridge. At about 23.8 lb, you can carry it indoors on freezing nights. That’s not a small detail: Jackery lists a charging range of 32–113°F.
This is the answer for renters, HOA-restricted yards, or anyone who refuses to drill a roof. Reviews consistently highlight how easily it runs small appliances and doubles as home backup during outages. The common criticism is the higher cost per watt-hour, and the 200W panel is bulky when unfolded.
Pros:
No wiring, permits, or roof drilling
1,500W output runs many 120V tools
Doubles as emergency backup for the house
Cons:
Higher cost per watt-hour than DIY kits
Can’t charge below freezing without warming
List price is around $1,300, though street pricing often lands lower; check the current price.
Ready to Light Up Your Shed This Weekend?
Take your backyard workspace to the next level with this carefully curated lineup. Click a highlighted kit to check current pricing and availability, and get reliable power the whole family will enjoy!
Jackery Solar Generator 1000 v2See current price, sizes and reviews on Amazon.
Real-World Scenarios: Which Off Grid Solar Kit for Shed Fits Your Life?
Specs only mean something once they meet a real shed. Here are three common buyer profiles, each with a simple watt-hour budget. The math is easy: multiply each device’s watts by its hours of use, then add everything up.
Profile 1: The Garden Storage Shed
A shed owner has an 8×10 shed for mowers and potting supplies. They want two LED lights (10W each, 3 hours) and a security camera (5W, 24 hours). That’s 60Wh plus 120Wh, or about 180Wh a day.
The Renogy 100W 12V Starter Kit plus a 12V 50Ah lithium battery covers this with plenty of margin, even in winter. Her budget stays low, and she has room to add a panel later.
Profile 2: The Weekend Woodworker
A workshop owner uses a 10×16 workshop on Saturdays. They charge four drill batteries (about 60Wh each), run a radio and lights for six hours, and occasionally use a 750W jigsaw. The daily need sits around 500–700Wh, with short peaks near 1,000W.
That peak rules out a 600W inverter. This buyer should look at the Renogy 200W 12V Starter Kit paired with a 100Ah lithium battery and a 1,500–2,000W inverter, or simply buy the ECO-WORTHY 1.6kWh Complete Kit.
Profile 3: The Garden Office
A remote worker works from a backyard office three days a week. They need a laptop (60W, 8 hours), a monitor (30W, 8 hours), a router, and lights. That totals roughly 900Wh a day, but they can’t drill their HOA-governed roof.
The Jackery Solar Generator 1000 v2 fits best. It stores enough for a full workday, and she can set the panel on the lawn. On cloudy days, she can top it up from a wall outlet the night before.
Not sure how much sun your ZIP code gets? The National Renewable Energy Laboratory’s free PVWatts calculator estimates monthly solar production for your exact location, including the dark winter months that matter most for sizing.
How to Install a Shed Solar Kit: Your First 30 Days
Most shed solar kits go up in an afternoon, but the first month decides whether the system lasts. Follow this order to avoid the common rookie errors.
Check shade first. Visit the roof at 9 a.m., noon, and 3 p.m. A tree that shades the panel for two hours can cut daily output far more than you’d expect.
Face panels south (in the continental U.S.). Tilt them roughly equal to your latitude for year-round output. A steeper tilt helps winter production and sheds snow faster.
Mount the controller indoors, close to the battery. Short battery cables reduce voltage drop. Keep the controller dry and shaded.
Connect the battery to the controller first. Then connect the panels. Reversing that order can damage many PWM and MPPT controllers, so check your manual.
Add fuses and a disconnect. Put a fuse or breaker on the positive battery lead. Many kits include one; if yours doesn’t, buy it before first power.
Weatherproof every roof penetration. Use a cable entry gland and sealant, not just a drilled hole and hope.
Watch it for 30 days. Check battery voltage at dawn each week. A battery that never reaches full charge points to shade, undersized panels, or a loose connection.
A quick maintenance tip: hose off dust and pollen every few months. Clean panels quietly recover output that dirt steals.
Problem → Solution: Fixing Common Shed Solar Headaches
Even a well-chosen solar panel kit for shed use can hit snags. Here are the five problems owners mention most, with practical fixes.
Problem: The battery dies by morning. Solution: Your nightly load is larger than your battery’s usable capacity. Recalculate watt-hours, swap halogen bulbs for LEDs, or add a second battery. Panel-only kits like the Renogy 200W 12V Starter Kit expand easily.
Problem: The inverter shuts off when a tool starts. Solution: Motors draw a startup surge several times their running watts. Upgrade to a larger inverter, or choose the ECO-WORTHY 1.6kWh Complete Kit or Jackery Solar Generator 1000 v2, which handle bigger surges.
Problem: Winter output collapses. Solution: Shorter days and a low sun angle are normal. Increase the panel tilt, clear snow promptly, and size for December rather than June.
Problem: The lithium battery refuses to charge in the cold. Solution: Most LiFePO4 batteries shouldn’t charge below freezing. Choose a battery with low-temperature protection or self-heating, or insulate the battery box.
Problem: Output looks low on sunny days. Solution: Check connections first; loose MC4 plugs are the usual culprit. Then consider an MPPT controller like the one in the Renogy 400W 12V Premium Kit.
How to Choose a Solar Panel Kit for Shed: 7 Steps
Choosing well comes down to matching energy, power, and conditions. Work through these steps in order.
List every load in watt-hours. Add up watts × hours for each device. This single number decides panel and battery size.
Find your biggest single load. Your inverter must exceed the largest tool’s running watts, with headroom for its startup surge.
Size panels for winter. Divide daily watt-hours by your worst-month sun hours, then add about 25% for losses.
Size the battery for at least one cloudy day. If you use 500Wh daily, aim for 600Wh or more of usable storage.
Pick MPPT above roughly 200W. PWM is fine for one or two panels; beyond that, MPPT pays for itself in harvested energy.
Check the controller’s expansion ceiling. That rating, not panel count, decides how far you can grow without replacing parts.
Match the kit to your roof. Measure usable, unshaded area before buying four panels you can’t fit.
Common Mistakes to Avoid When Buying a Shed Solar Kit
Most disappointing systems fail for predictable reasons. Here’s what to dodge.
Buying panels and forgetting storage. A panel-only kit produces nothing usable at night. If you choose the Renogy 100W 12V Starter Kit or ECO-WORTHY 200W 12V/24V Kit, budget for a battery from day one.
Confusing watts with watt-hours. A 600W inverter tells you how much power flows at once. The battery’s watt-hours tell you how long it lasts. Mixing these up is why kettles and space heaters drain small systems in minutes.
Ignoring heat and cold. Sheds swing from scorching summers to freezing winters. That punishes lead-acid batteries and can block lithium charging. Plan an insulated, ventilated battery spot.
Skipping overcurrent protection. A short circuit on an unfused battery can start a fire. Fuses and breakers aren’t optional extras.
Expecting whole-house appliances to work. Space heaters, air compressors, and welders need far more than a typical shed kit offers. Size for reality, not wishful thinking.
Solar Panel Kit vs. Trenching or a Gas Generator
Before buying, compare solar against the two traditional ways to power a shed. Each has a place, but the trade-offs are sharp.
The table shows why solar wins for most backyard sheds. It costs far less than a trenched line and runs silently with no fuel. However, if your shed needs heating, air conditioning, or a welder, a grid connection remains the only practical choice.
Solar Panel Kit for Shed with Battery: Lead-Acid vs. Lithium
The battery is where most shed systems succeed or fail. You’ll choose between lead-acid (flooded, AGM, gel) and lithium iron phosphate.
Lead-acid batteries cost less upfront, but they dislike deep discharges and heat. In practice, many deliver only a few hundred useful cycles in a hot shed. Lithium iron phosphate (LiFePO4) chemistry, by contrast, tolerates deep cycling, weighs roughly half as much, and is rated for thousands of cycles. That’s why the ECO-WORTHY 200W Complete Kit, the ECO-WORTHY 1.6kWh Complete Kit, and the Jackery Solar Generator 1000 v2 all use it.
The main weakness of LiFePO4 is cold charging. Most cells shouldn’t charge below freezing, so northern buyers need low-temperature protection or a heated battery. Even so, lithium usually wins on cost per cycle over the life of the system.
Long-Term Cost and Value: What You Really Pay
The sticker price is only part of the story. A cheap kit that needs a new battery every three years can cost more than a premium one.
Kit
Upfront tier
Still need to buy
Battery lifespan outlook
Long-term value
Renogy 100W 12V Starter Kit
$
Battery, fuse, lights
Depends on battery chosen
High for small loads
ECO-WORTHY 200W Complete Kit
$$
Little
LiFePO4, thousands of cycles
Good, if reliable
Renogy 400W 12V Premium Kit
$$$
Battery, inverter
Depends on battery chosen
Excellent for growers
Jackery Solar Generator 1000 v2
$$$
Nothing
Rated 4,000+ cycles
Good, highest flexibility
The comparison highlights a hidden cost: panel-only kits look cheap until you add a quality battery, which can match the kit’s price. Meanwhile, the all-in-one options cost more upfront but bundle long-life lithium storage. Over five to ten years, lithium-based setups often deliver the lowest cost per stored kilowatt-hour.
Safety, Regulations, and Standards for Shed Solar
Small DC systems are low risk, but you still need to respect electricity.
In the U.S., photovoltaic installations fall under NEC Article 690 of the National Electrical Code, which most states adopt. A plug-in portable power station usually needs no permit. However, a hard-wired system with an inverter feeding 120V outlets often does, and some jurisdictions require a licensed electrician. Check with your local building department before you start.
Look for recognized certifications. Panels listed to UL 61730 and inverters listed to UL 1741 have passed independent safety testing. Always fuse the battery’s positive lead, use the wire gauge your manual specifies, and keep batteries in a ventilated, protected spot.
FAQ: Solar Panel Kit for Shed Questions Answered
What size solar panel kit for shed use runs a mini fridge?
A 12V compressor fridge typically uses 300–600Wh a day. Plan on at least 200W of panels and a 100Ah lithium battery. A standard 120V mini fridge needs more, plus an inverter that handles its startup surge.
Can I use a car battery with a shed solar kit?
You can, but it's a poor choice. Car batteries are built for short bursts, not daily deep discharges, so they wear out fast. A deep-cycle AGM or LiFePO4 battery lasts far longer and costs less over time.
How long do shed solar panels last?
Quality monocrystalline panels commonly carry performance warranties of 25 years and keep producing well beyond that. Charge controllers and inverters usually last 5–15 years, and batteries vary most, depending on chemistry, temperature, and depth of discharge.
Is a solar panel kit for shed worth the money?
For lights, tool charging, and light electronics, usually yes. It often costs less than trenching a power line, has no monthly bill, and installs in a day. For heating or welding, a grid connection makes more sense.
Can I install a shed solar kit myself?
Most low-voltage DC kits are DIY-friendly with basic tools and careful reading of the manual. Once you hard-wire an inverter to 120V outlets, check local permit rules, since some areas require a licensed electrician.
Conclusion: Pick the Kit That Matches Your Shed
The best solar panel kit for shed owners isn’t the biggest one. It’s the one that matches your actual loads, your roof, and your climate.
For a simple storage shed, the Renogy 100W 12V Starter Kit plus a lithium battery is a reliable, affordable start. Hobby workshops will appreciate the extra energy of the Renogy 200W 12V Starter Kit or the expansion-friendly ECO-WORTHY 200W 12V/24V Kit. If you want outlets without shopping for parts, the ECO-WORTHY 200W Complete Kit gets you there quickly.
Serious builders should look at the MPPT-equipped Renogy 400W 12V Premium Kit, while woodworkers running corded tools will get the most from the ECO-WORTHY 1.6kWh Complete Kit. And if drilling your roof is off the table, the Jackery Solar Generator 1000 v2 delivers solar power for shed use with zero wiring.
Whichever you choose, check for shade, size for winter, protect your battery from temperature extremes, and fuse everything. Do that, and your shed will have dependable, silent power for years.
Power Up Your Shed Today!
Don’t spend another evening working by flashlight. Click a highlighted kit above to check current pricing and availability, and turn your shed into the workspace it was meant to be!
Disclaimer: This post contains affiliate links. As an Amazon Associate, I earn from qualifying purchases made through these links, at no additional cost to you.
Found this article helpful? Share it with someone who needs it!