As an Amazon Associate I earn from qualifying purchases. Links in this article may be affiliate links. How we choose gear
Wall Mounted Solar Panels in 2026: Why Your Wall Might Be Your Best Roof
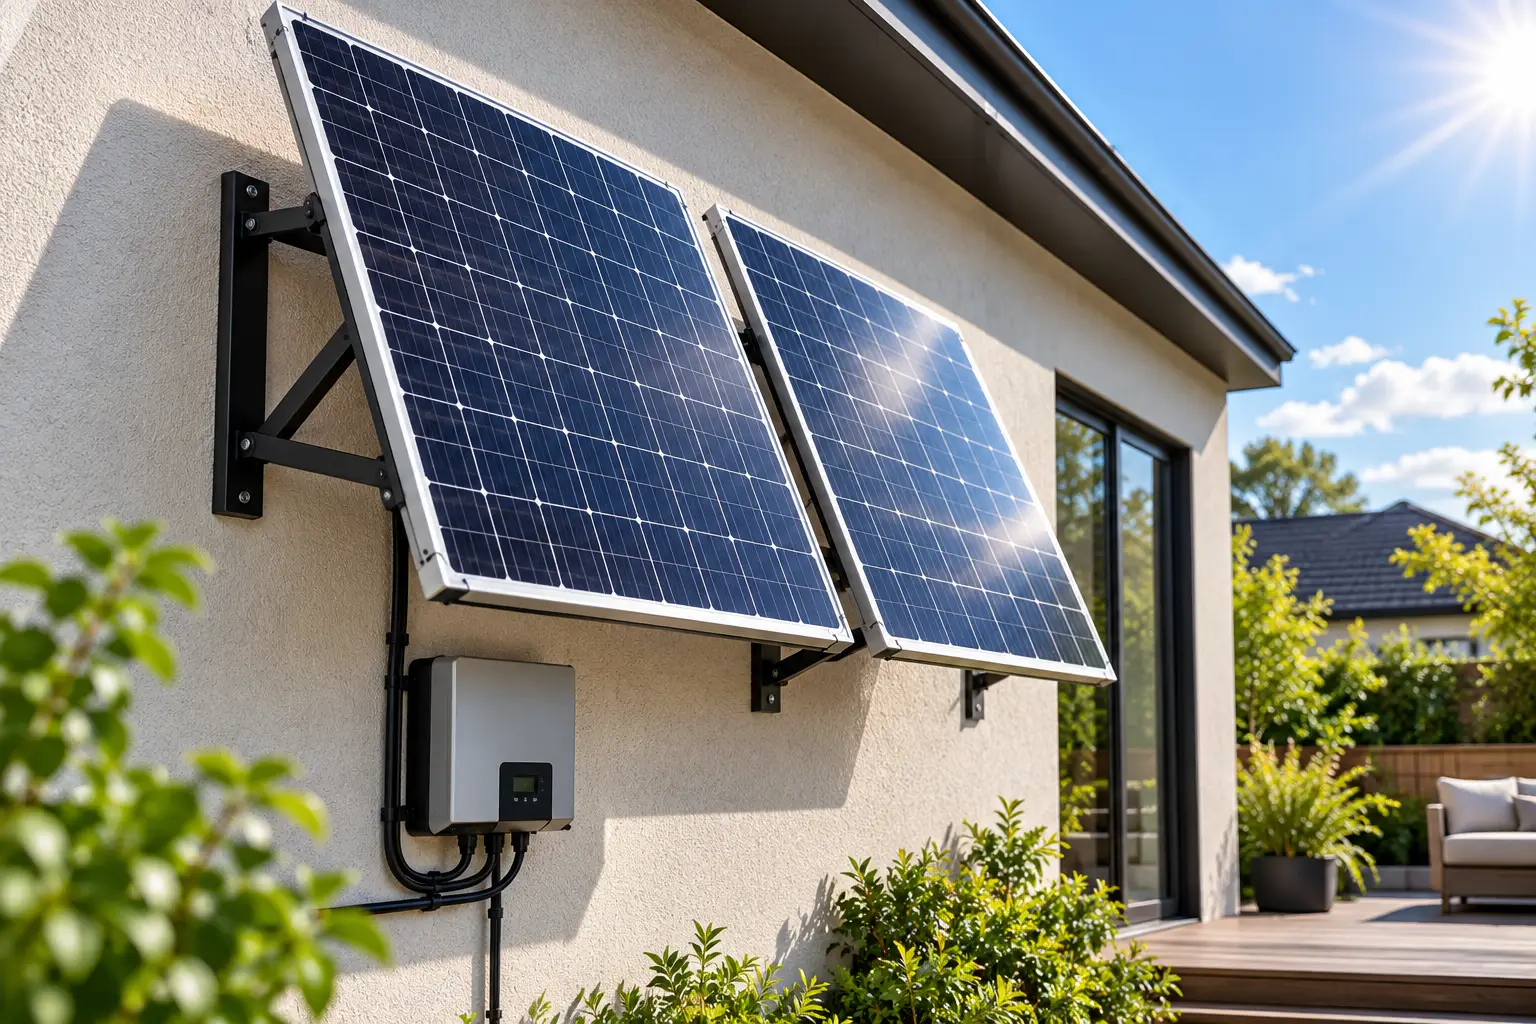
Here’s a question most solar guides skip: what if your roof is the wrong place for panels? Maybe you rent. Maybe your HOA hates rooftop arrays, your shingles are due for replacement, or a giant oak throws shade over the whole thing by 2 p.m. That’s exactly where wall mounted solar panels earn their keep. A sunny south-facing wall, a shed side, a balcony railing, or the back of a garage can host a panel that charges batteries, runs a security camera, or — in a growing number of states — feeds a little power straight into your home through a regular outlet.
The timing matters, too. Wall mounted solar panels used to be a niche hack for off-grid cabins and RV owners. In 2026, they’ve gone mainstream for three reasons: electricity prices keep climbing, plug-in “balcony solar” laws are spreading beyond Utah, and the hardware has gotten cheaper and better. A solid bracket set now costs less than a nice dinner out, and a 100-watt monocrystalline panel costs about what a pair of good sneakers does.
But walls aren’t roofs. A panel bolted flat against vertical siding behaves very differently from one tilted toward the sky, and picking the wrong mount can cost you a third of your output — or your security deposit. This guide walks you through seven real products available on amazon.com, from simple Z brackets to a full 800-watt plug-in kit, with honest analysis of who each one suits. You’ll also get an installation walkthrough, real-world scenarios, cost math, and the safety rules that actually apply to a wall-mounted setup.
What Are Wall Mounted Solar Panels?
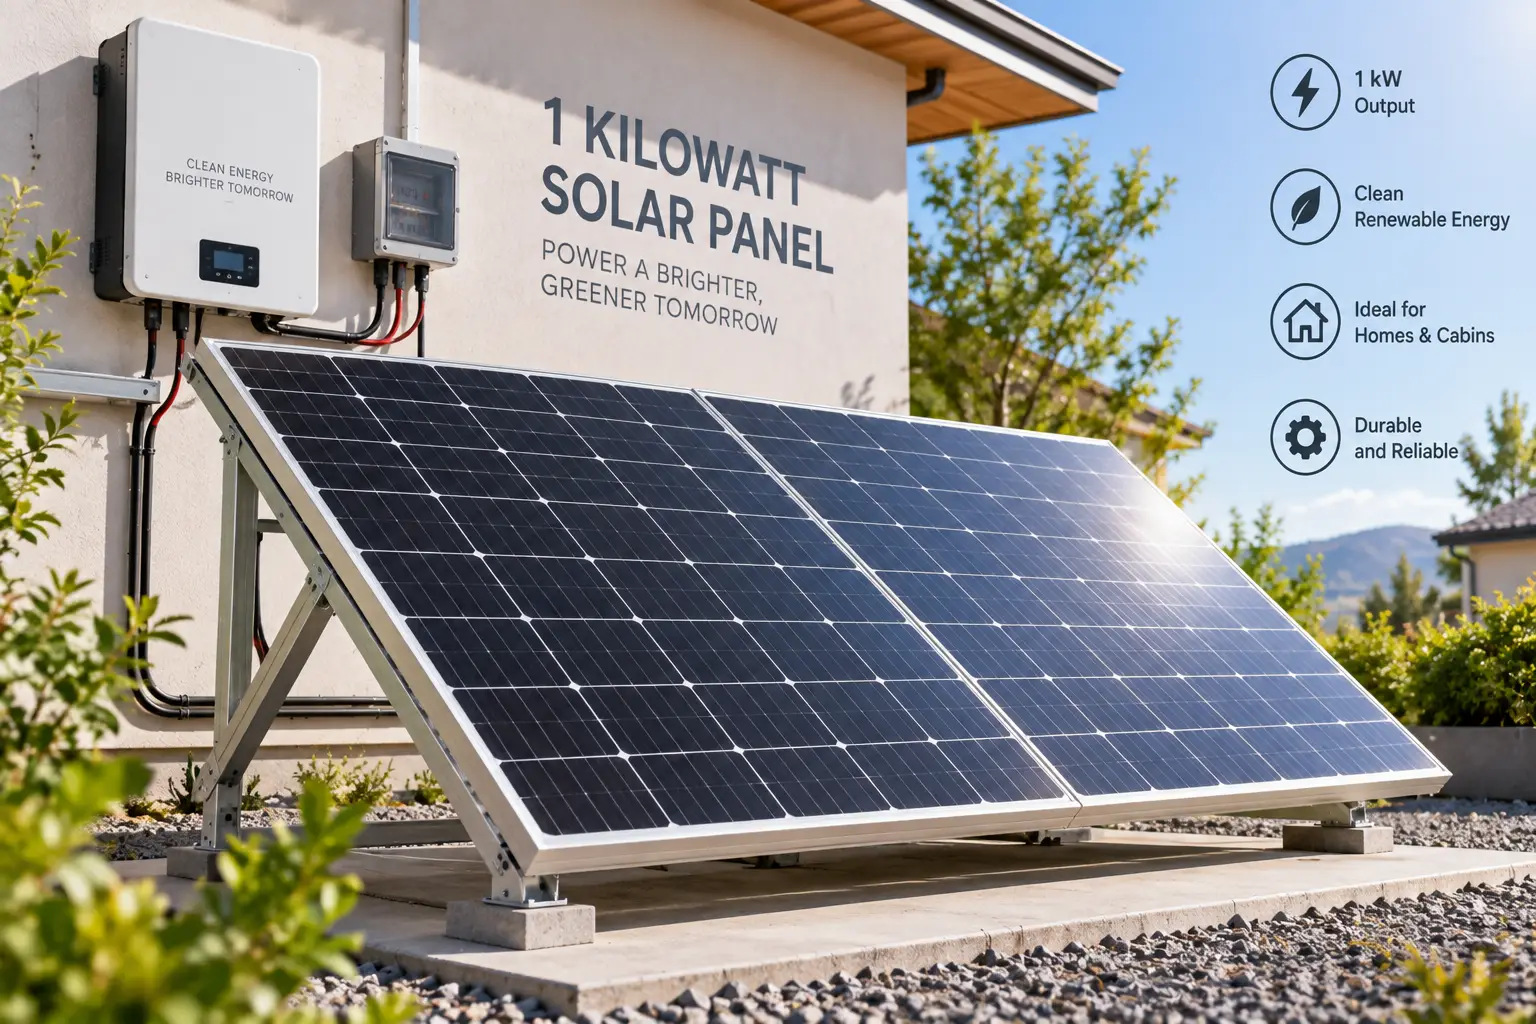
Wall mounted solar panels are photovoltaic modules attached to a vertical surface — a house wall, shed, fence, or balcony railing — using fixed brackets, tilt mounts, or side-of-pole arms. They generate electricity like rooftop panels, but trade some output for easier access, no roof penetrations, and placement flexibility.
In practice, “wall mounted” covers a spectrum. At one end, a panel sits flush against the wall (simple, low-profile, but least productive). At the other, an adjustable bracket kicks the panel out at an angle so it faces the sun more directly. Each approach is a type of photovoltaic mounting system, and the right one depends on your wall’s direction, your latitude, and what you’re powering.
What ties them together is the goal: put a panel where the sun already hits, without climbing on a roof. For renters, apartment dwellers, and anyone powering a shed, gate, or camera, that’s often the most practical path into solar.
Quick Comparison: Wall Mounted Solar Panels and Mounts at a Glance
Before the deep dive, here’s the short version. The seven picks below fall into three groups: complete systems (panel plus everything else), panels you’ll pair with a mount, and the mounts themselves.
Product
Type
Panel Size Supported
Approx. Price Range
Best for
PluggedSolar 800W Plug-and-Play Kit
Complete plug-in system
Included (4 panels)
Roughly $700–$1,400
Renters/homeowners in plug-in-solar states
ECO-WORTHY 45″ Adjustable Tilt Mount Brackets
Tilt mount (2 sets)
100W–400W, panels under 45″ wide
Around $60–$90
Larger panels on sheds and garages
Renogy 28″ Adjustable Tilt Mount Brackets
Tilt mount
Renogy panels up to 100W
Around $30–$70
A single 100W panel at a better angle
Newpowa NPB-120P Pole/Wall Side Mount
Side-of-pole/wall arm
80W–120W, up to 28″ wide
Under $100
Windy sites and fence posts
Renogy Solar Panel Mounting Z Brackets
Fixed flush bracket
Up to ~100W per set
Around $15–$40
Tight budgets and low-profile installs
Renogy 100W 12V Monocrystalline Panel
Rigid panel
—
Roughly $70–$130
First off-grid wall project
Ring 4W Solar Panel (2nd Gen)
Mini panel with wall mount
Integrated
Around $45–$60
Keeping a Ring camera charged
Looking at the table, the biggest decision isn’t brand — it’s category. If you want to cut your power bill, only the PluggedSolar 800W Plug-and-Play Kit does that directly; every other pick charges batteries or devices. If you already own a panel, the real choice is between the flush, cheap Renogy Solar Panel Mounting Z Brackets and an adjustable tilt mount like the ECO-WORTHY 45″ Adjustable Tilt Mount Brackets, which costs more but can recover a big chunk of the output a vertical wall throws away.
Top 7 Wall Mounted Solar Panels and Mounts
Every pick below is a real product listed on amazon.com at the time of writing. Specs come from manufacturer and retailer spec sheets; review sentiment is aggregated from public customer feedback, not invented testimonials. Prices are ranges because they move constantly — always check the current listing.
This is the one product here that sends power into your home’s wiring instead of into a battery. The PluggedSolar 800W Plug-and-Play Kit bundles four panels with a microinverter that plugs into a standard 120V outlet, and the inverter carries UL 1741 certification. In practice, that means solar energy gets used by whatever is running in your home first — the fridge, the router, the window AC — so you simply buy less from the utility during sunny hours.
Based on the specs, this kit suits renters and homeowners in states that have legalized plug-in solar, especially anyone with a sunny balcony, a south-facing wall, or a patch of yard. It’s overkill if you only need to run a shed light, and it’s the wrong buy if your state hasn’t cleared the legal path yet. Independent reporting on plug-in systems puts savings for an 800W setup at roughly $30–$50 a month in higher-cost states — meaningful, but not bill-erasing.
Verified, detailed US customer reviews for this specific kit are thinner than for the bracket picks, so weigh the certification and warranty terms more heavily than star counts.
Pros:
Directly offsets household electricity use
UL 1741 microinverter, the current safety baseline
Four panels give flexible wall or railing layouts
Cons:
Only legal without utility approval in some states
Highest upfront cost in this roundup
Price range: roughly $700–$1,400 depending on configuration — strong value if your state allows it, a gamble if it doesn’t.
PluggedSolar 800W Plug-and-Play KitSee current price, sizes and reviews on Amazon.
If your panel is larger than the classic 100W size, this is the mount that grows with you. The ECO-WORTHY 45″ Adjustable Tilt Mount Brackets come as two sets of aluminum rails with foldable tilt legs and printed angle markings, rated for 100W–400W panels under 45 inches wide. The angle scale is the underrated feature: instead of eyeballing, you can set a precise tilt for summer, then drop it a few notches for winter.
On a wall, these work best mounted on a shed or garage side where you can anchor the rails into solid framing and let the legs push the panel’s top edge outward. Based on comparing the specs, this is the most versatile mount in the lineup — one set handles a single 100W–200W panel, both sets handle larger ones. The downside is bulk; this is not a sleek look for a front facade.
Customer reviews consistently describe the brackets as sturdy and easy to assemble, with several buyers noting they hold 400W panels without flexing.
Pros:
Angle scale makes seasonal tilt changes easy
Handles panels up to roughly 400W
Corrosion-resistant aluminum build
Cons:
Bulky profile on visible walls
Wall anchoring hardware is not the focus of the kit
Price range: around $60–$90 for two sets — excellent value per watt supported.
ECO-WORTHY 45″ Adjustable Tilt Mount BracketsSee current price, sizes and reviews on Amazon.
Think of this as the right-sized version of the ECO-WORTHY kit for a single small panel. The Renogy 28″ Adjustable Tilt Mount Brackets (SKU RNG-MTS-TMB) pair fixed L-brackets with tilt legs and stainless steel fasteners, sized for Renogy panels up to 100W. The fixed rails measure about 28 inches, and the whole set weighs around 3.5 lbs, so it won’t stress siding the way a heavy steel rack would.
Who’s it for? Anyone pairing a 100W panel with a shed, camper, or garage wall who wants better output than a flush mount gives. Because Renogy designed it around its own panel’s hole pattern, assembly with the Renogy 100W 12V Monocrystalline Panel is close to drop-in. Other brands may need a drill to line things up.
Review volume on this exact SKU is modest compared to Renogy’s Z brackets, but feedback generally centers on easy assembly and solid fasteners, with some buyers wishing for wider panel compatibility.
Pros:
Lightweight at roughly 3.5 lbs
Stainless steel hardware resists rust
Near drop-in fit with Renogy 100W panels
Cons:
Limited to panels around 100W
Other brands may need re-drilling
Price range: around $30–$70 — fair value if you own a Renogy panel, less so otherwise.
Renogy 28″ Adjustable Tilt Mount BracketsSee current price, sizes and reviews on Amazon.
This double-arm mount is designed to work as a pole, wall, or ground mount, which makes it unusually flexible. The Newpowa NPB-120P Pole/Wall Side Mount uses heavy-duty aluminum with stainless steel hardware and is rated for wind loads up to 90 mph and snow loads of 1.1 kN/m². It accepts panels up to 28 inches wide on the short side, which covers most 80W–120W rigid panels, including the Renogy 100W.
The practical meaning of that wind rating is peace of mind on exposed walls — think a barn end, a coastal deck post, or a gate pole at the edge of a field. Here’s what to weigh: side-of-pole arms hold the panel away from the wall, so you get airflow behind it (cooler panels produce more) and a better tilt than flush brackets allow.
We couldn’t verify a large body of US customer reviews for this specific model, so we’re relying on the manufacturer’s published ratings here.
Pros:
Published 90 mph wind rating
Works on walls, poles, or the ground
Airflow behind the panel improves performance
Cons:
Limited verified review history
Single-panel capacity only
Price range: generally under $100 — check the current price; good value for exposed sites.
Newpowa NPB-120P Pole/Wall Side MountSee current price, sizes and reviews on Amazon.
Sometimes the simplest hardware is the right hardware. The Renogy Solar Panel Mounting Z Brackets are four lightweight aluminum brackets, pre-assembled with bolts and washers, that hold a panel a short distance off a flat surface. Amazon lists them with a “Wall Mount” mounting type, and they’re a staple for RV roofs, sheds, and siding.
The catch is geometry. Z brackets hold a panel parallel to the surface, so on a wall you get a fully vertical panel — the least productive orientation for most of the year. They shine when the wall faces south, you’re at a higher latitude, or you simply need a tidy, low-profile install for a small charging job. Renogy recommends one set for a single panel up to 100W and two sets for 150W–200W panels.
Reviews are overwhelmingly positive, with thousands of ratings averaging around 4.6–4.7 stars at the time of writing; buyers frequently mention solid build quality relative to the price.
Pros:
Lowest cost in this roundup
Corrosion-resistant aluminum construction
Huge, consistently positive review base
Cons:
No tilt, so output suffers on walls
Wall anchors for masonry aren’t included
Price range: around $15–$40 depending on pack size — unbeatable value for a simple job.
Renogy Solar Panel Mounting Z BracketsSee current price, sizes and reviews on Amazon.
If you need an actual panel to hang, this is the benchmark most others get compared to. The Renogy 100W 12V Monocrystalline Panel measures roughly 42 x 20 inches and weighs about 13–14.5 lbs depending on the production version, with an IP65 junction box and MC4 connectors. Renogy rates it for an average of 400–500 Wh per day, sun permitting.
That size matters on a wall: at around 14 lbs, a pair of lag bolts into studs or masonry anchors handles it easily. It’s directly compatible with Renogy’s Z brackets, tilt mounts, and pole mounts, which removes most of the guesswork for beginners. Pair it with a charge controller and a 12V battery for an off-grid shed, chicken coop, or garage light setup.
In a side-by-side hands-on test of five 100-watt panels, Footprint Hero named it the best overall for size, build quality, and output, while noting it costs a bit more than rivals. Amazon reviews echo the build-quality praise.
Pros:
Proven, widely reviewed 100W design
Light enough for a simple wall install
Works with Renogy’s full mounting ecosystem
Cons:
Slightly pricier than budget 100W panels
Needs a controller and battery for off-grid use
Price range: roughly $70–$130 — fair for the build quality and support.
Renogy 100W 12V Monocrystalline PanelSee current price, sizes and reviews on Amazon.
This is wall solar at its smallest and most practical. The Ring 4W Solar Panel (2nd Gen) is a 4W/5V panel with an adjustable wall mount, a USB-C cable, and a barrel-plug adapter for older Ring cameras. Its mount swivels a full 360 degrees with 180 degrees of tilt, and Ring recommends just 2–3 hours of direct sunlight per day.
What it means in practice: you stop climbing a ladder every few weeks to recharge a camera battery. It’s rated for -5°F to 120°F, so it handles most US climates year-round. It only makes sense if you own a compatible Ring camera, such as the Spotlight Cam Plus or Pro.
Reviews are strong — Best Buy shows a 4.7-star average across roughly 780 ratings — but some owners on Ring’s community forum report the separately sold wall mount plate didn’t fit their panel, so confirm compatibility before buying extra mounts.
Pros:
Ends manual camera battery recharging
Fully adjustable mount captures more sun
Wide operating temperature range
Cons:
Only works with select Ring cameras
Accessory mount compatibility can be confusing
Price range: around $45–$60 — great value if you already own the camera.
Don’t miss these smart picks!
Take your solar setup to the next level with this carefully curated lineup. Click a highlighted product to check current pricing and availability. These picks will help you turn a sunny wall into reliable, free power the whole family will appreciate!
Ring 4W Solar Panel (2nd Gen)See current price, sizes and reviews on Amazon.
How to Install a Solar Panel Wall Mount: A First-Timer’s Guide
A solar panel wall mount is one of the friendlier DIY solar projects, but the wall itself is where most mistakes happen. Here’s the sequence that avoids them.
Before You Drill
Watch the wall for a full day. Note when direct sun arrives and leaves. A wall that looks sunny at noon may be shaded by the eaves for half the summer.
Find the structure. On wood-frame houses, locate studs with a stud finder and plan to hit at least two. On brick or concrete, plan for sleeve anchors or wedge anchors rated well above the panel’s weight. Never hang a panel from vinyl siding alone.
Check your lease or HOA rules if you don’t own the wall outright.
Mounting Day
Dry-fit the brackets to the panel on the ground first. It’s far easier to fix a misaligned hole on a workbench than on a ladder.
Seal every penetration with exterior-grade silicone or a butyl sealant so water can’t wick into the wall.
Set the tilt. For year-round production, a common rule of thumb is a tilt near your latitude; for winter-heavy use, go steeper.
Route cables downward with a drip loop so rain runs off instead of into connectors.
The First 30 Days
Check bolt tightness after the first big windstorm, since aluminum hardware can settle. Compare actual battery charging with what you expected; if it’s far lower, look for a shadow you missed. To set realistic expectations, plug your ZIP code, tilt, and wall direction into NREL’s free PVWatts calculator, which estimates monthly output for any orientation — including a fully vertical one.
Real-World Scenarios: Matching the Right Setup to Your Life
Specs only mean something once they meet a real situation. Here are three common profiles and the reasoning behind each match.
The Apartment Renter in Virginia
She has a south-facing balcony, a monthly bill around $150, and a landlord who’s fine with railing mounts but not drilling. Virginia’s plug-in solar law took effect in July 2026. The best match is the PluggedSolar 800W Plug-and-Play Kit on a no-drill railing mount, budget roughly $700–$1,400. She uses power during the day working from home, so most of what the panels make gets consumed instead of wasted. Before plugging in, she confirms the rules with her utility and gets landlord approval in writing.
The Backyard Shed Owner in Ohio
He wants LED lights, a phone charger, and a small fan in a detached shed, used mostly on weekends. A Renogy 100W 12V Monocrystalline Panel on the Renogy 28″ Adjustable Tilt Mount Brackets, plus a charge controller and small battery, fits a budget of roughly $250–$450 all-in. Weekly use means the battery has days to refill, so 100W is plenty.
The Homeowner With Camera Fatigue
She owns two Ring Spotlight Cam Plus units and is tired of swapping batteries. Two Ring 4W Solar Panel (2nd Gen) units, budget around $90–$120, solve it in an afternoon. No inverter, no wiring, no permits.
Problem → Solution: Fixing Common Wall-Mount Headaches
Even well-planned installs hit snags. Here are the five most common, with fixes.
Problem: Output is way below the panel’s rating. Solution: A vertical panel can lose a large share of output versus an optimal tilt. Switch from flush Z brackets to an adjustable mount like the ECO-WORTHY 45″ Adjustable Tilt Mount Brackets, or move to a south-facing wall.
Problem: Output drops in the afternoon. Solution: That’s usually a shadow from a roof overhang, tree, or neighbor’s building. Reposition lower or farther out with a side-of-pole arm like the Newpowa NPB-120P Pole/Wall Side Mount.
Problem: Brackets loosen after storms. Solution: Use lag bolts into studs or proper masonry anchors, plus thread-locking compound on bolts. Re-torque after the first season.
Problem: Water stains appear inside the wall. Solution: Every penetration needs sealant, and every bracket should sit slightly proud of the surface so water drains behind it.
Problem: Camera still dies in winter. Solution: Winter sun is low and short. Angle the Ring 4W Solar Panel (2nd Gen) steeper toward the southern sky, and clear snow or dust off the surface.
How to Choose Wall Mounted Solar Panels
Choosing wall mounted solar panels comes down to seven decisions, made in this order:
Define the job first. Bill savings, battery charging, or device power? Only a plug-in kit lowers your bill directly; everything else feeds a battery or gadget.
Check which way the wall faces. South is best in the US, east and west are workable, north rarely justifies the cost.
Pick flush or tilted. Flush mounts are cheaper and tidier; tilt mounts recover much of the output a vertical surface loses.
Match the mount to panel size and weight. Compare the bracket’s rated wattage and width with your panel’s spec sheet, not just the marketing headline.
Confirm the wall can hold it. Studs, brick, or concrete — each needs different anchors. Siding alone is never enough.
Plan for wind. On exposed walls, favor mounts with published wind ratings and stainless hardware.
Check the rules. Leases, HOAs, and — for plug-in systems — state law all apply before you buy.
The order matters because each answer narrows the next. A renter who needs bill savings on a north-facing balcony, for example, learns at step two that the money is better spent elsewhere.
Side-by-Side: Specs, Price Ranges, and Ratings for All 7
Here’s the fuller comparison, including the details that matter most once the panel is actually on your wall.
Product
Key Spec
Hardware/Material
Review Sentiment
Approx. Price
Best for
PluggedSolar 800W Plug-and-Play Kit
800W, 120V plug-in
UL 1741 microinverter
Limited verified reviews
$700–$1,400
Bill savings in legal states
ECO-WORTHY 45″ Adjustable Tilt Mount Brackets
100W–400W, 0–90° tilt
Aluminum rails
Sturdy, easy assembly
$60–$90
Large panels on sheds
Renogy 28″ Adjustable Tilt Mount Brackets
Up to 100W
Stainless fasteners, ~3.5 lbs
Positive, modest volume
$30–$70
One Renogy 100W panel
Newpowa NPB-120P Pole/Wall Side Mount
80W–120W, 90 mph wind rating
Aluminum + stainless
Limited verified reviews
Under $100
Exposed, windy walls
Renogy Solar Panel Mounting Z Brackets
Up to ~100W per set
Aluminum, pre-assembled
~4.6–4.7 stars, thousands of ratings
$15–$40
Budget flush installs
Renogy 100W 12V Monocrystalline Panel
400–500 Wh/day rated
IP65 box, MC4
Praised build quality
$70–$130
First off-grid project
Ring 4W Solar Panel (2nd Gen)
4W/5V, 360° mount
USB-C
~4.7 stars at Best Buy
$45–$60
Ring camera owners
The pattern is clear: the cheapest hardware also has the deepest review history, while the most ambitious products have the thinnest. That’s normal for a young category like plug-in solar, but it means the PluggedSolar 800W Plug-and-Play Kit deserves a closer look at warranty terms before you commit. For pure mounting value, the ECO-WORTHY 45″ Adjustable Tilt Mount Brackets cover the widest range of panels per dollar.
Vertical Solar Panels vs Tilted Wall Mounts vs Rooftop Arrays
This is the comparison that should shape your expectations most. Vertical solar panels — mounted flat against a wall — catch the sun at a steep angle for most of the year. A 2026 research paper on PV system yields estimates that a vertical south-facing facade produces roughly 60–70% of what an optimally tilted panel would, vertical east or west walls about 45–60%, and north walls just 20–40%.
That doesn’t make vertical installs pointless. They shed snow naturally, collect less dust, and perform relatively better in winter when the sun sits low. A tilted wall mount splits the difference: it reclaims much of the lost output while keeping the panel off the roof.
Factor
Vertical (flush)
Tilted wall mount
Rooftop array
Output vs optimal
~60–70% (south wall)
Close to optimal if angled well
Optimal (good roof)
Roof penetrations
None
None
Yes
Snow/dust buildup
Minimal
Low
Moderate
Install difficulty
Easy
Moderate
Hard/professional
Best for
Small loads, snowy regions
Sheds, garages, off-grid
Whole-home offset
Reading this table, tilted wall mounts are the sweet spot for most DIY buyers: near-rooftop output with none of the roofing risk. Flush Renogy Solar Panel Mounting Z Brackets still make sense for snowy northern states or tiny loads, where the convenience outweighs the lost watts.
Balcony Solar Panels: The Plug-In Wall-Mount Revolution
Balcony solar panels are the fastest-growing slice of this market. Utah’s 2025 law gave plug-in devices up to 1,200 watts legal status without an interconnection agreement, and Virginia, Maine, Colorado, and Maryland followed with their own measures in 2026, according to independent reporting. Colorado set a higher cap of 1,920 watts.
What this means for you: in those states, a kit like the PluggedSolar 800W Plug-and-Play Kit can be mounted on a balcony railing or wall and plugged in without months of utility paperwork. Outside them, the same kit may still require approval — or may not be allowed at all.
The safety picture is maturing. UL Solutions published the UL 3700 standard for plug-in solar in late 2025, but as of mid-2026 full system certifications were still working through the pipeline. Until those labels show up on boxes, a UL 1741 certified microinverter is the minimum to demand. Renters should also get written landlord approval before hanging anything on a railing.
Common Mistakes to Avoid When Buying Wall Mount Solar Panel Brackets
Wall mount solar panel brackets look simple, which is exactly why buyers get them wrong.
Buying by wattage alone. A bracket rated for “400W” may still be too narrow for your 400W panel. Width and hole spacing matter as much as wattage.
Assuming hardware is included for your wall. Most kits ship with bolts for attaching the panel, not anchors for brick or concrete. Budget an extra $10–$20 for the right anchors.
Ignoring wind exposure. A tilted panel acts like a sail. On a second-story wall or coastal home, that matters far more than on a sheltered fence.
Choosing flush mounts on east or west walls. That combination stacks two output penalties. Add tilt or reconsider the location.
Mixing metals carelessly. Steel bolts on aluminum rails can corrode over time in salty or humid air; stainless hardware avoids that.
The common thread: read the panel’s spec sheet and the bracket’s spec sheet side by side before you click buy.
Long-Term Cost and Maintenance
The sticker price is only the first number. Here’s how ownership costs stack up across the main setup types.
Setup
Upfront (approx.)
Extra Gear Needed
Ongoing Upkeep
Best for
Ring 4W Solar Panel (2nd Gen)
$45–$60
None
Wipe panel a few times a year
Camera owners
Renogy 100W 12V Monocrystalline Panel + Renogy Solar Panel Mounting Z Brackets
The math favors the plug-in kit for return on investment: at roughly $30–$50 a month in savings, an 800W system can pay for itself in a few years in higher-cost states. Off-grid setups don’t “pay back” in the same way — their value is power where there was none, and the battery is usually the most expensive long-term component. Panels themselves need little more than an occasional rinse with a garden hose.
Safety, Regulations, and Standards
Wall mounting adds a few safety concerns rooftop owners rarely face. A falling panel from a second-story wall can injure someone, so structural anchoring is the first safety rule, not an afterthought.
For electrical safety, look for these marks:
UL 1741 on any inverter or microinverter that connects to home wiring.
UL 3700 on plug-in systems as certified kits reach the market.
UL or ETL listing on panels intended for permanent installation.
IP65 or higher junction boxes for outdoor exposure.
The National Electrical Code still governs the household wiring any plug-in system connects to. Off-grid battery systems stay separate from your home’s circuits, which is why they face fewer rules — but never connect a DIY grid-tie inverter to an outlet. If you plan a permanent, hardwired system, check local building permits; many cities require them even for small installs.
Features That Actually Matter (and Ones That Don’t)
Marketing pages love big numbers. Here’s how to tell signal from noise.
Features that actually matter:
Adjustable tilt with angle markings — directly increases output on walls.
Stainless steel hardware — prevents rust streaks and seized bolts.
Published wind ratings — the only objective measure of storm durability.
Certified inverters for anything that plugs into your home.
Features that matter less than you’d think:
“Tool-free” claims — you’ll still need a drill for any wall.
Peak efficiency percentages — a 1% efficiency gain is dwarfed by a 30% orientation loss.
Bundled accessories you’ll never use — RV roof hardware doesn’t help a brick wall.
In short, prioritize geometry and durability over spec-sheet bragging rights. A well-angled 100W panel on a solid mount will outperform a premium panel stuck in the wrong spot.
FAQ: Wall Mounted Solar Panels
How much do wall mounted solar panels cost?
A small camera panel runs around $45–$60, a 100W panel plus brackets roughly $85–$200, and a complete 800W plug-in kit roughly $700–$1,400. Off-grid setups also need a charge controller and battery, so check current prices before budgeting.
Can I mount solar panels on a brick wall?
Yes. Use sleeve or wedge anchors rated well above the panel's weight, drilled into the brick itself rather than the mortar joints. Seal each hole, and add stainless hardware to prevent rust streaks down the masonry.
Do wall mounted solar panels need a permit?
Small off-grid panels charging a battery usually don't. Hardwired systems often do, and plug-in kits are permit-free only in states with plug-in solar laws. Always check your city's building department and your lease or HOA first.
What size wall mounted solar panel do I need for a shed?
For LED lights, phone charging, and a small fan used on weekends, a single 100W panel with a 12V battery is usually enough. Daily heavy use or power tools call for 200W–400W and a larger battery.
How long do wall mounted solar panels last?
Quality rigid panels typically last 20–25 years or more, and aluminum brackets with stainless hardware last as long. Batteries and controllers usually need replacing sooner, so factor them into your long-term ownership costs.
Conclusion: Your Wall Is Ready to Work
Wall mounted solar panels have grown up. What started as an off-grid workaround is now a practical choice for renters, shed owners, camera users, and — in a growing list of states — anyone who wants to trim their electric bill without a rooftop project.
The smartest buy depends entirely on the job. If you want real bill savings and live in a plug-in-friendly state, the PluggedSolar 800W Plug-and-Play Kit is the only pick here that delivers it. For off-grid power, the Renogy 100W 12V Monocrystalline Panel paired with the Renogy 28″ Adjustable Tilt Mount Brackets is the most beginner-friendly combo, while the ECO-WORTHY 45″ Adjustable Tilt Mount Brackets scale up for larger panels. Exposed sites call for the Newpowa NPB-120P Pole/Wall Side Mount, tight budgets for the Renogy Solar Panel Mounting Z Brackets, and Ring owners can simply grab the Ring 4W Solar Panel (2nd Gen).
Whichever you choose, remember the three rules that matter more than any spec: face the sun, add tilt where you can, and anchor into something solid. Get those right, and even a modest panel will quietly pay you back for years.
Ready to put your sunny wall to work?
Click a highlighted product above to check current pricing and availability on Amazon. With the right panel and mount, you’ll turn wasted wall space into dependable solar power — no roof required!
Disclaimer: This post contains affiliate links. As an Amazon Associate, I earn from qualifying purchases made through these links, at no additional cost to you.
Found this article helpful? Share it with someone who needs it!