
In This Article
If you’ve started shopping for solar panels 300 watt and immediately hit a wall of monocrystalline-versus-polycrystalline jargon, busbar counts, and charge controller acronyms, you’re not alone. This wattage class sits in an odd sweet spot — too small for most whole-home rooftop arrays, but exactly right for RVs, cabins, boats, sheds, and backup power setups. That makes shopping for it genuinely different from shopping for a full residential system, and most buying guides don’t treat it that way.
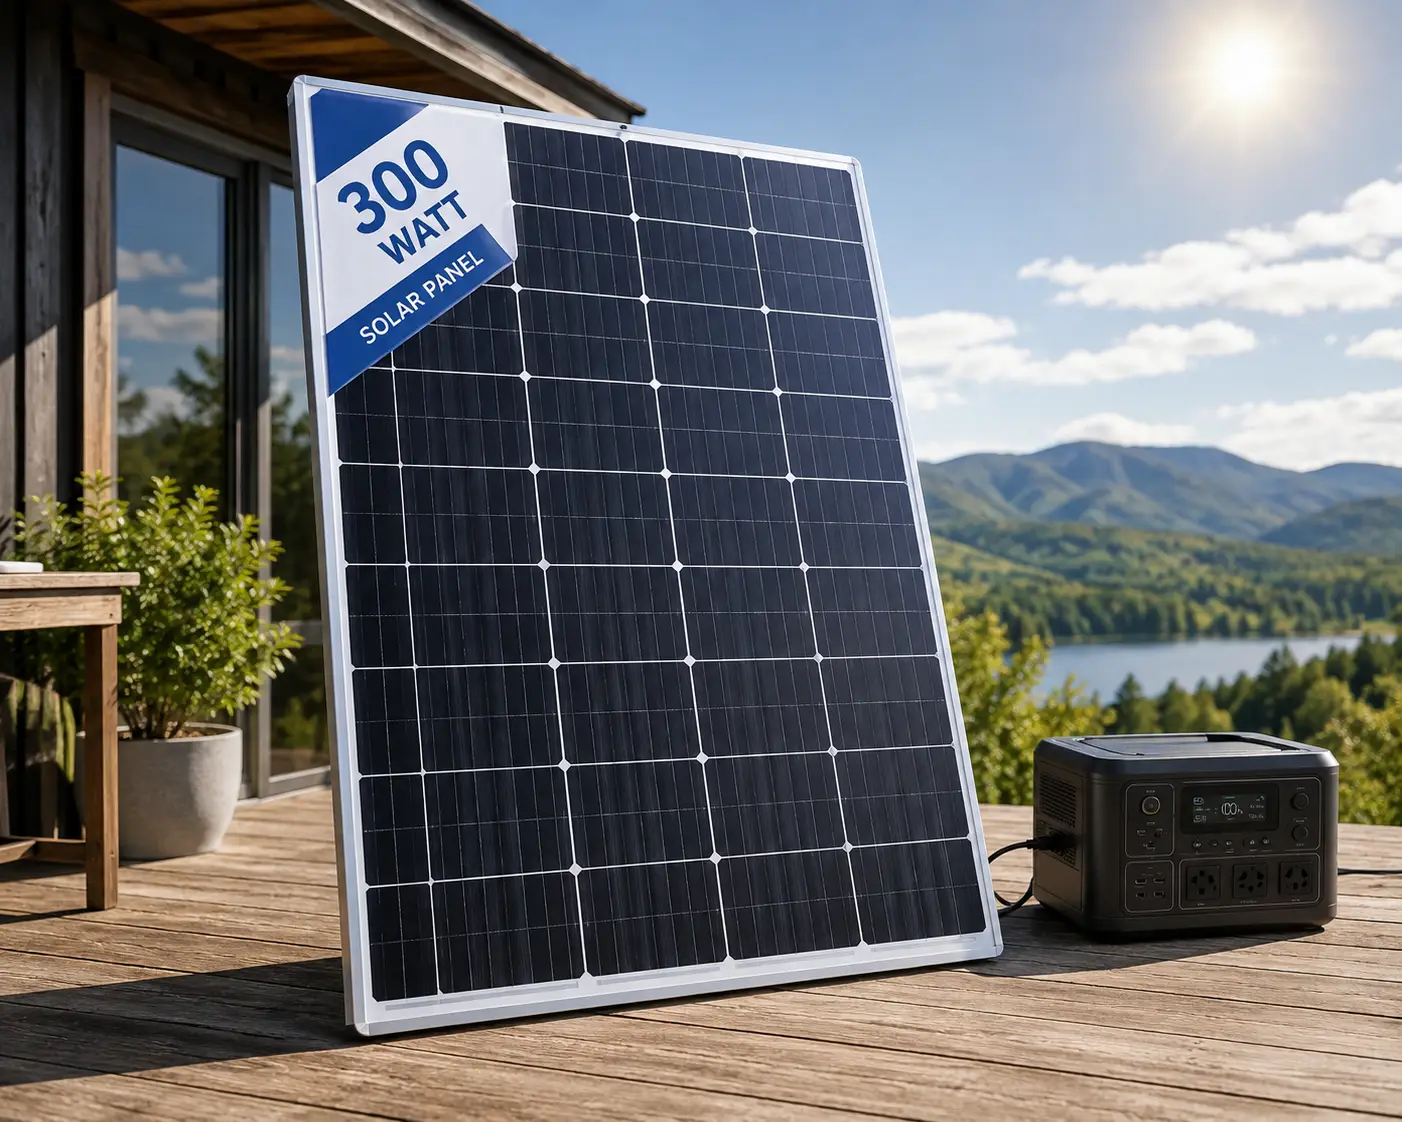
A 300 watt solar panel is a photovoltaic module rated to produce 300 watts of electricity under standard test conditions (full sun, 25°C, no shading). In real-world use, a single panel in a sunny climate typically generates 1.2 to 1.8 kWh per day, enough to trickle-charge a battery bank or run light electronics.
This guide breaks down seven real, currently available options across rigid rooftop panels, bifacial designs, portable folding kits, and complete off-grid bundles — with honest analysis of who each one actually fits, not just a features list copied from a product page. We’ll also walk through how to size a 300 watt solar panel kit correctly, the mistakes that trip up first-time buyers, and what maintenance actually looks like once the panel is mounted.
One important note on pricing throughout this article: solar panel prices shift often based on promotions, shipping costs, and bundled components, so we’re using price ranges rather than exact figures. Always check the current price on the product page before buying.
Quick Comparison: 300 Watt Solar Panels at a Glance
| Panel | Type | Efficiency | Weight | Price Range | Best For |
|---|---|---|---|---|---|
| Renogy RNG-320D | Rigid monocrystalline | ~21% | ~40 lbs | around $300–$370 | Rooftop/permanent installs |
| BougeRV 300W Bifacial | Rigid bifacial mono | ~23% | ~35 lbs | around $400–$460 | Ground mounts, reflective surfaces |
| WindyNation 300W Kit | 3x100W kit + PWM | ~18% | ~55 lbs total | around $350–$450 | Total beginners |
| Grape Solar GS-300-KIT | 3x100W kit + inverter | ~17% | ~60 lbs total | around $500–$650 | All-in-one AC power |
| ACOPOWER 300W Kit | 3x100W poly + MPPT | ~14.3% | ~50 lbs total | around $260–$330 | Budget RV/van builds |
| DOKIO 300W Foldable | Portable mono | ~23% | ~15–16 lbs | around $280–$380 | Campers, sun-chasers |
| RICH SOLAR 300W Kit | 3x100W + MPPT | ~20% | ~50 lbs total | around $350–$430 | Expandable systems |
Looking at the table, the split comes down to a simple question: do you want one panel or a modular kit? The Renogy RNG-320D and BougeRV 300W Bifacial are single rigid panels built for a fixed mount, while the WindyNation, Grape Solar, ACOPOWER, and RICH SOLAR kits give you three smaller panels you can spread across a curved RV roof. The DOKIO 300W Foldable breaks the mold entirely — it’s the only pick here designed to be carried, not mounted.
💬 One click helps other shoppers make an informed choice too! 😊
Top 7 Solar Panels 300 Watt: Expert Analysis
1. Renogy RNG-320D — highest per-panel output
The Renogy RNG-320D actually delivers 320 watts, roughly 6–7% more than a standard 300W panel in the same rooftop footprint. That gap matters more than it sounds: if you’re mounting on a fixed roof with limited square footage, every extra watt per panel means one fewer module you need to squeeze in.
Its PERC monocrystalline cells hit around 21% conversion efficiency, and the anti-reflective tempered glass lets through roughly 91.5% of incoming light instead of bouncing it away — the kind of detail that shows up as real output on a hazy afternoon, not just a spec-sheet number. The frame is rated to handle 5,400 Pa of snow load and 2,400 Pa of wind pressure, which is why Renogy leans on this panel for tiny-house and cabin installs where the panel stays bolted down through winter storms.
Based on comparing the specs against its rivals, the RNG-320D is best suited to buyers who want a permanent, set-it-and-forget-it installation rather than something they’ll move around. It ships with only a bare MC4 connector — no charge controller, cables, or mounting hardware are included, so budget for those separately if you’re starting from zero.
Reviews consistently report that the tempered glass and frame feel noticeably sturdier than lower-cost competitors, and that the panel performs close to its rated output even in partial-cloud conditions. A recurring complaint in customer reviews is the lack of included accessories, which catches first-time buyers off guard.
Pros:
- ✅ Highest single-panel wattage in this lineup
- ✅ 25-year tiered power output warranty
- ✅ Snow and wind load rated for permanent mounts
Cons:
- ❌ No cables, controller, or brackets included
- ❌ At 40 lbs, awkward for a solo install
Renogy prices this panel around $300–$370 at the time of writing — solid value for a rigid monocrystalline panel at this output.
2. BougeRV 300W Bifacial — extra yield from reflected light
The BougeRV 300W Bifacial panel’s distinguishing trick is its transparent backsheet, which lets the rear cells absorb light bouncing off whatever surface sits underneath the panel — a white roof membrane, light gravel, or snow. On a reflective surface, that rear side can add a genuine 15–25% on top of the rated 300W front output.
The 12BB (busbar) cell design pushes conversion efficiency to roughly 23%, and the thinner ribbon between cells reduces the shaded area on the panel’s face by about 20%, squeezing out a bit more output per square foot. What most buyers overlook with bifacial panels is that the gain is conditional — mount this over asphalt shingles or a dark rooftop and you’ll see close to zero rear-side benefit, since there’s nothing bright below to reflect light back up.
This makes the BougeRV panel a strong pick specifically for ground mounts, gravel pads, or white TPO roofing on a cabin or shed, and a weaker one for a typical dark RV roof. At around 35 lbs, it’s also a few pounds lighter than the Renogy panel despite the added bifacial glass layer.
Reviews consistently report smooth 12V/24V charging performance and note the all-black frame looks noticeably more finished than older BougeRV panels. What the spec sheet doesn’t say, but reviews reveal, is that bifacial gain is highly setup-dependent — several buyers reported barely noticing a difference until they switched their mounting surface.
Pros:
- ✅ Dual-sided design adds output on reflective surfaces
- ✅ 23% front-side conversion efficiency
- ✅ All-black, corrosion-resistant aluminum frame
Cons:
- ❌ Bifacial gain depends heavily on mounting surface
- ❌ Pricier per watt than monofacial alternatives
Expect to pay in the $400–$460 range for this panel, reflecting the added bifacial glass and cell technology.
3. WindyNation 300 Watt Solar Panel Kit — most beginner-friendly complete kit
The WindyNation 300 Watt Solar Panel Kit distinguishes itself by bundling everything a total beginner needs into one box: three 100W panels, a 30-amp P30L PWM charge controller with an LCD display, 40 feet of UL-listed 12AWG solar cable, adjustable mounts, and all connectors.
Here’s what most buyers overlook — an LCD charge controller isn’t just a nicety. It shows voltage, amperage, battery state of charge, and DC load draw in real time, which means you can actually diagnose a wiring problem instead of guessing why your battery isn’t charging. Because the PWM controller is less efficient than an MPPT unit (it can’t boost a higher panel voltage down to match a lower battery voltage as cleanly), you’ll typically see 10–15% less usable energy from this kit compared to an MPPT-based alternative with identical panels.
That trade-off makes the WindyNation kit a genuinely good fit for RV owners or cabin builders who want a working system out of the box without researching every individual component, and less ideal for anyone trying to squeeze maximum efficiency from a tight roof.
Reviews consistently report that the instructions are unusually clear for a DIY solar kit, with several buyers specifically calling out the labeled cable connectors as a time-saver. A common complaint in customer reviews is that the PWM controller’s efficiency loss becomes noticeable in cooler weather or partial shade, when voltage mismatches are more pronounced.
Pros:
- ✅ Everything needed for a working system in one box
- ✅ Adjustable mounts work for permanent or portable setups
- ✅ 25-year tiered power warranty on panels
Cons:
- ❌ PWM controller is less efficient than MPPT
- ❌ Three smaller panels are more wiring to manage
The complete kit typically runs $350–$450, which is competitive once you account for the included controller and cabling.
4. Grape Solar GS-300-KIT — all-in-one AC power output
The Grape Solar GS-300-KIT stands apart by including a 2,000-watt pure-sine inverter alongside the three 100W polycrystalline panels and 40-amp Comet charge controller — meaning you get usable AC outlets, not just a DC charging port, straight out of the box.
That inverter is the real story here. On paper, this means you can plug a laptop charger, a CPAP machine, or a small fan directly into the kit without buying a separate inverter and wiring it in yourself. The panels themselves use a two-diode bypass system to limit power loss when part of the array is shaded, and Grape Solar estimates the kit produces around 900 watt-hours (roughly 75 amp-hours at 12V) per day under good sun.
Based on comparing the specs against kits without an inverter, the GS-300-KIT commands a real price premium, but it removes an entire shopping decision for buyers who don’t want to research inverter wattage, wave form, and wiring gauge separately. It’s a strong match for RVers and backup-power buyers who want the simplest possible path to running actual appliances.
Reviews consistently report dependable charging output for the price bracket and straightforward wiring, with a common complaint in customer reviews being that the charge controller’s display is smaller and dimmer than some competitors’, making it hard to read in bright daylight.
Pros:
- ✅ Includes a 2,000W pure-sine inverter
- ✅ Two-diode bypass minimizes shading losses
- ✅ Simple three-panel wiring layout
Cons:
- ❌ Highest price point in this lineup
- ❌ Polycrystalline cells trail monocrystalline in low light
Expect this kit to land around $500–$650 given the included inverter — check the current listing, since inverter-bundle pricing shifts more than panel-only kits.
5. ACOPOWER 300W 12V Poly Solar RV Kit — most affordable complete kit
The ACOPOWER 300W 12V Poly Solar RV Kit wins on price without cutting the components that actually matter for a working system: three 100W polycrystalline panels, a 30-amp MPPT charge controller rated at 99.5% peak efficiency, mounting brackets, and pre-cut cable.
Here’s the nuance the spec sheet doesn’t spell out — even though the panels themselves use polycrystalline cells rated at a modest 14.35% efficiency, pairing them with a genuine MPPT controller (rather than the PWM controllers common at this price point) claws back some of that efficiency gap. MPPT technology can extract up to 30% more usable energy than PWM in the same conditions, according to manufacturer testing cited across the RV solar kit category, which partly offsets the lower cell efficiency.
What most buyers overlook is that this kit assumes you already own a battery and, if you want AC power, an inverter — it’s priced as charging hardware only. That makes it the right call for buyers who are building a system piece by piece and already have those components, and a poor fit for anyone wanting a true plug-and-play bundle.
Reviews consistently report that this is one of the most budget-friendly complete starter kits that still includes an MPPT controller, though a recurring theme in customer reviews is that output drops more noticeably than monocrystalline competitors once the sun angle gets low.
Pros:
- ✅ Genuine MPPT controller at a budget price point
- ✅ 25-year power warranty on the panels
- ✅ Pre-drilled holes speed up mounting
Cons:
- ❌ Polycrystalline cells underperform in low light
- ❌ No battery or inverter included
At around $260–$330, this is typically the most affordable way into a complete 300W kit with MPPT charging.
6. DOKIO 300W Portable Foldable — lightest and most portable
The DOKIO 300W Portable Foldable panel breaks from every other entry on this list by folding down to roughly 19 x 37 inches and weighing only 15–16 lbs — light enough for one person to carry, set up, and reposition to chase the sun through the day, something a rigid rooftop panel simply can’t do.
Its monocrystalline cells are rated around 23% efficiency, and the kit includes a built-in PWM controller plus dual USB ports, so you can charge phones and small electronics directly without a separate battery bank. The 9.8-foot cable is long enough to keep the panel in direct sun while the controller or power station sits shaded nearby — a small design choice, but one that matters when you’re setting up camp in variable terrain.
What sets this apart isn’t raw efficiency; it’s flexibility. A buyer with a fixed RV roof gets no benefit from portability, but a weekend camper, van-lifer without a permanent mount, or anyone prepping a grab-and-go emergency power source gets real value from being able to angle the panel directly at the sun rather than accepting whatever angle a fixed mount allows.
Reviews consistently report that the light carry weight is the standout feature, with buyers specifically noting it fits in a duffel bag or truck bed toolbox. A common complaint in customer reviews is that the fabric kickstand takes some trial and error to angle correctly in windy conditions.
Pros:
- ✅ Folds down to a carry-friendly size and weight
- ✅ Built-in USB ports for direct device charging
- ✅ 23% monocrystalline cell efficiency
Cons:
- ❌ Not designed for permanent outdoor mounting
- ❌ Fabric hinge points are a long-term wear item
Pricing typically runs $280–$380, a reasonable premium over rigid kits given the portability.
7. RICH SOLAR 300 Watt Solar Kit — best for future expansion
The RICH SOLAR 300 Watt Solar Kit is built around a distinguishing idea: modularity. Three 100W monocrystalline panels with 9 busbars pair with a 40-amp digital MPPT charge controller, and every component is designed to plug directly into RICH SOLAR’s wider panel and battery lineup without custom wiring.
The pre-assembled wiring harness is the detail that matters most here — no crimping tools required, which removes one of the most common points of failure for first-time DIY installers. The MPPT controller displays real-time volts, amps, and amp-hours, giving you the same diagnostic visibility as the WindyNation kit but with the efficiency advantage of true MPPT charging instead of PWM.
Based on comparing the specs against the other kits here, RICH SOLAR’s real advantage shows up later, not on day one: if you start with this 300W kit and decide next year to add another 200W or 300W array, the plug-and-play compatibility means you’re not starting from scratch on wiring and controller sizing. That makes it a strong pick for buyers who expect their power needs to grow — a cabin owner adding appliances over time, or an RVer upgrading from weekend trips to full-time living.
Reviews consistently report that the tool-free wiring harness saves real setup time for first-time installers. A common complaint in customer reviews is that the MPPT controller’s small screen is difficult to read in direct sunlight without shading it by hand.
Pros:
- ✅ Tool-free, pre-assembled wiring harness
- ✅ True MPPT controller with real-time monitoring
- ✅ Designed for easy future system expansion
Cons:
- ❌ Controller screen is hard to read in bright sun
- ❌ Three-panel wiring takes more roof planning than one rigid panel
Expect a price in the $350–$430 range, positioning it between the budget ACOPOWER kit and the pricier Grape Solar bundle.
Detailed Comparison: All 7 Panels Side by Side
| Panel | Cell Type | Rated Watts | Controller Included | Portable? | Best For |
|---|---|---|---|---|---|
| Renogy RNG-320D | Monocrystalline PERC | 320W | No | No | Permanent rooftop |
| BougeRV 300W Bifacial | Bifacial mono, 12BB | 300W | No | No | Ground mount, reflective surfaces |
| WindyNation 300W Kit | Mono, 3x100W | 300W | Yes (PWM) | Semi | First-time DIY builders |
| Grape Solar GS-300-KIT | Poly, 3x100W | 300W | Yes (PWM + inverter) | Semi | AC power without extra shopping |
| ACOPOWER 300W Kit | Poly, 3x100W | 300W | Yes (MPPT) | Semi | Budget RV/van builds |
| DOKIO 300W Foldable | Monocrystalline | 300W | Yes (PWM) | Yes | Campers, sun-chasers |
| RICH SOLAR 300W Kit | Mono, 3x100W | 300W | Yes (MPPT) | Semi | Expandable systems |
The clearest split in this table is controller technology: the ACOPOWER and RICH SOLAR kits are the only two bundling a true MPPT controller at this price tier, which typically means 10–30% more usable energy than the PWM-equipped WindyNation, Grape Solar, and DOKIO kits under identical sun conditions. If maximizing every watt matters more to you than sticker price, that MPPT distinction should weigh heavily in your decision. For buyers who just want a working system without digging into controller specs, any of the PWM kits will still charge a battery reliably — just somewhat less efficiently.
Advantages of 300 Watt Solar Panels Over Smaller Alternatives
| Comparison Point | 100W Panel | 200W Panel | 300W Panel |
|---|---|---|---|
| Panels needed for 900W array | 9 | 4.5 (uneven) | 3 |
| Approx. daily output (4–6 sun hours) | 400–600 Wh | 800–1,200 Wh | 1,200–1,800 Wh |
| Wiring complexity for same total wattage | Highest | Medium | Lowest |
| Typical use case | Trickle charging | Small appliances | Fridges, CPAPs, mixed loads |
A 300 watt solar panel occupies a genuinely useful middle ground. Stepping up from 100W panels to 300W panels for the same total array size cuts your panel count by two-thirds, which means fewer MC4 connections, less cable routing, and fewer potential failure points on an RV roof. Compared to jumping straight to 400W+ panels, though, 300W modules stay light and small enough that a single person can still handle installation without a second set of hands or a hoist.
How to Set Up Your 300 Watt Solar Panel: The First 30 Days
Getting a new solar panel from box to working system trips up more first-time buyers at the wiring stage than at the mounting stage. Here’s the sequence that avoids the most common early mistakes.
First, size your charge controller before you mount anything — matching amperage to your panel’s rated current (not just its wattage) prevents controller strain from day one. Second, do a bench test: wire the panel to the controller and battery on the ground, confirm you’re seeing a charging voltage, and only then move to permanent mounting. Third, when mounting, angle the panel to roughly match your latitude for fixed installs, or plan for periodic manual adjustment if you’re chasing seasonal sun angles.
Fourth, route cables with drip loops before they enter any enclosure, so water travels down and off the cable rather than following it inside. Fifth, label your positive and negative leads at both ends before final connection — reversed polarity is one of the most common (and most damaging) first-time mistakes reported in RV and off-grid forums. Sixth, once live, monitor your charge controller’s display for the first week to confirm the voltage curve looks normal through a full sun cycle. Finally, recheck all connections after the first week, since initial thermal cycling can slightly loosen screw terminals.
Common first-30-days mistakes worth flagging specifically: undersizing the charge controller relative to short-circuit current (not just wattage), mounting the panel where afternoon shade from an AC unit or vent falls across even one cell, and skipping a fuse or breaker between the panel and battery.
✨ Ready to start your own setup? Take your solar panels 300 watt shopping list to the next level with the picks above — click through to check current availability before you buy! 🔋
Real-World Scenarios: Who Actually Needs a 300 Watt Solar Panel
Matching wattage to actual use case avoids both overspending and undersizing. Three common buyer profiles illustrate how this plays out.
The weekend RV traveler running lights, a phone charger, a fan, and a small fridge for two to three days at a time is well served by a single rigid panel like the Renogy RNG-320D paired with an existing battery bank, since daily draw is modest and a permanent mount fits a stationary weekend setup.
The off-grid cabin owner running more continuous loads — lighting, a water pump, a laptop, occasional power tools — benefits more from a complete kit like the RICH SOLAR 300 Watt Solar Kit or WindyNation 300 Watt Solar Panel Kit, both of which are built to expand as power needs grow across seasons rather than staying fixed at 300W indefinitely.
The van-lifer or backcountry camper without a fixed roof mount, or the household prepping a grab-and-go emergency power source, is the clearest match for the DOKIO 300W Portable Foldable panel, since portability and setup speed outweigh the marginal efficiency gains of a rigid, fixed-angle panel.
Common Problems with 300 Watt Solar Panels — and How to Fix Them
Problem: Panel shows voltage but battery isn’t charging. This is almost always a charge controller mismatch or a blown in-line fuse — check the fuse first, then confirm the controller’s battery-type setting (AGM, gel, lithium) matches your actual battery chemistry.
Problem: Output is far below rated wattage on a sunny day. Partial shading from a vent, antenna, or nearby tree branch across even a small section of the panel can disproportionately cut output, since cells are wired in series; relocate the panel or trim the obstruction where possible.
Problem: Charge controller display shows erratic readings. Loose terminal connections are the most common cause — recheck and re-torque every screw terminal, since thermal cycling loosens them faster than most buyers expect in the first month.
Problem: Panel output drops noticeably in cooler weather despite clear skies. Counterintuitively, solar panels are more efficient in cold, sunny conditions than in summer heat — if output is dropping in cool weather, suspect a wiring or connection issue rather than the temperature itself.
Problem: Bifacial panel isn’t showing the expected output boost. As covered above, bifacial gain depends entirely on a reflective mounting surface — a dark rooftop or asphalt pad won’t produce a meaningful rear-side contribution regardless of panel quality.
How to Choose a 300 Watt Solar Panel
- Match cell type to your climate and budget. Monocrystalline panels like the Renogy RNG-320D and DOKIO 300W Foldable cost more per watt but outperform polycrystalline options like the ACOPOWER and Grape Solar kits in low light and partial shade.
- Decide between a single rigid panel or a 3-panel kit. A single panel is simpler to wire but harder to fit on a curved or obstructed roof; a 3-panel kit spreads more easily but adds wiring complexity.
- Check whether a charge controller is included, and which type. MPPT controllers, found in the ACOPOWER and RICH SOLAR kits here, typically extract more usable energy than the PWM controllers bundled with the WindyNation, Grape Solar, and DOKIO options.
- Weigh portability against permanence. If you need to move the panel between sites or chase sun angle manually, a foldable design like the DOKIO 300W Foldable is the only real fit on this list.
- Confirm your battery bank and inverter needs separately, unless you choose an all-in-one kit like the Grape Solar GS-300-KIT that bundles an inverter.
- Look for a 25-year tiered power warranty — it’s close to standard across this category and a useful baseline for comparing long-term reliability claims.
- Verify UL 61730 or equivalent safety certification before buying, particularly for any permanent rooftop or RV installation.
Common Mistakes to Avoid When Buying a 300 Watt Solar Panel
The most frequent error is buying panel wattage without checking charge controller compatibility — a 300W panel’s short-circuit current can exceed an undersized controller’s rating, leading to premature failure or reduced lifespan. A second common mistake is assuming “300 watt” means identical real-world output across brands; as this comparison shows, cell type, busbar count, and controller technology all shift actual daily energy production even among panels with the same rated wattage.
A third mistake is skipping fuse or breaker protection between the panel and battery to save a few dollars, which removes a critical safety layer if a short circuit occurs. Buyers also frequently underestimate mounting hardware costs when comparing a bare panel’s price against a complete kit’s price — the bare Renogy RNG-320D, for example, needs separately purchased brackets, cable, and a controller to become a working system.
What to Expect: Everyday Performance
On paper, a 300 watt solar panel producing 1.2 to 1.8 kWh per day sounds abstract until you translate it into real usage. That daily output is roughly enough to keep a 12V compressor fridge running continuously, charge a laptop and several phones multiple times over, and power LED lighting for several hours each evening — but it typically falls short of running an air conditioner or a full-size microwave without a much larger battery bank and inverter to smooth out the demand spikes. According to the U.S. Department of Energy, photovoltaic technologies generate electricity by absorbing sunlight in semiconductor cells and converting it directly into electrical energy, which is why output tracks so closely with sun hours and panel angle rather than ambient temperature. Cloud cover, partial shading, and panel angle relative to the sun all move real-world output meaningfully below the rated 300W figure, so it’s worth building in a buffer rather than sizing a system to the exact rated wattage.
Long-Term Cost and Maintenance
A 300 watt solar panel is a low-maintenance purchase compared to most home appliances, but it isn’t zero-maintenance. Budget for an occasional glass cleaning — dust and pollen buildup can measurably cut output over a season, especially in dry climates — and a periodic visual check of cable connections and mounting hardware, since vibration from RV travel loosens fasteners faster than a stationary rooftop install. Most panels in this comparison, including the Renogy RNG-320D and RICH SOLAR 300 Watt Solar Kit, carry a 25-year tiered power warranty guaranteeing roughly 80% of rated output even at year 25, which gives a useful baseline for total cost of ownership: spread the panel’s purchase price across that warranty window, and the effective cost per year is typically lower than continuing to run a gas generator for equivalent power. Charge controllers and inverters have shorter realistic lifespans than the panels themselves, generally 5 to 10 years of heavy use, so factor eventual controller replacement into your long-term budget rather than assuming the entire kit lasts as long as the panel’s glass and frame.
Safety, Regulations, and Standards
Before buying any 300 watt solar panel for a permanent installation, confirm it carries UL 61730 certification (or the older UL 1703, which is being phased out) — this is the safety standard covering electrical shock hazard, fire hazard, and mechanical stress testing for photovoltaic modules sold in the United States. UL 61730 is the harmonized standard that replaced UL 1703, incorporating US-specific requirements aligned with the National Electrical Code, which matters most for RV and cabin installers who may be subject to local electrical inspection. Look for an IP65 or higher rating on the junction box for any panel that will face rain or snow directly, and confirm bypass diodes are present — nearly every panel in this comparison includes them — since they prevent a single shaded cell from dragging down the entire panel’s output or overheating. If you’re wiring multiple panels in series, always size cable gauge and fusing to the system’s maximum current, not just the nameplate wattage, and consult a qualified electrician for any installation that will tie into a home’s existing electrical panel.
Frequently Asked Questions
❓ How much power does a 300 watt solar panel produce per day?
❓ Can a 300 watt solar panel run a refrigerator?
❓ What size charge controller do I need for a 300 watt solar panel?
❓ Is monocrystalline or polycrystalline better for a 300 watt solar panel?
❓ How many 300 watt solar panels do I need to power a house?
Conclusion
Choosing among solar panels 300 watt options really comes down to matching the panel to your mounting situation and your appetite for DIY wiring, not chasing the single “best” spec on a page. If you want a permanent rooftop install with the highest single-panel output, the Renogy RNG-320D is the strongest pick in this lineup. If your mounting surface is reflective — a light gravel pad, a white roof — the BougeRV 300W Bifacial panel earns its price premium. First-time DIY builders who want a genuinely complete, well-documented kit should look at the WindyNation 300 Watt Solar Panel Kit, while buyers who also need built-in AC power without extra shopping will get more value from the Grape Solar GS-300-KIT. Budget-focused RV and van builders piecing together a system from parts they already own should start with the ACOPOWER 300W Kit, campers and preppers who need true portability should go straight to the DOKIO 300W Foldable panel, and anyone planning to expand their system down the road should lean toward the RICH SOLAR 300 Watt Solar Kit for its plug-and-play compatibility. Whichever you choose, confirm UL 61730 certification, size your charge controller to the panel’s actual current rating, and budget for mounting hardware and cabling separately if you’re buying a bare panel rather than a complete kit. Solar technology in this wattage class is mature and well-tested at this point — the differences between these seven options are real, but every one of them is a legitimate way to add reliable, low-maintenance power to an RV, cabin, or backup system in 2026.
✨ Don’t miss these exclusive deals! 🔍 Take your 300 watt solar panel shopping to the next level with this carefully curated lineup. Click a highlighted pick above to check current pricing and availability. These panels will help you get reliable, low-maintenance power the whole family (or the whole campsite) can enjoy!
Recommended for You
- 1500 Watt Solar Panel Kits: 7 Best Picks for 2026
- 12V Solar Battery: 7 Best Picks for 2026 (Don’t Overpay)
- Yeti Portable Power Station: 7 Best Goal Zero Picks for 2026
Disclaimer: This post contains affiliate links. As an Amazon Associate, I earn from qualifying purchases made through these links, at no additional cost to you.
✨ Found this article helpful? Share it with someone who needs it! 💬🤗